The Golf Swing Basics of the Rotary Swing Tour (RST)
Here you can see me demonstrate the traditional positions for the Rotary Swing Tour (RST) golf swing.
I consider this “what” you are trying to achieve.
However, it’s not the “what” that sets the RST apart from other swing systems, it’s the two “hows”—how to move and how to practice—that help my students improve fast and make it last.
Be sure to check out “Why Our Golf Swing Improvement System's Unique” to understand this groundbreaking approach to golf instruction.
Setup
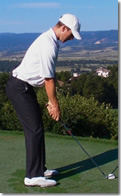
If you plan to swing safely and efficiently, it is crucial to start with the golf swing basics. You need a setup that puts you in a safe, strong position known as neutral joint alignment.
As with all parts of the RST, our instruction tells you exactly how to get into this position, including the position of your feet, hips, shoulder blades, elbows, hands and more.
The ball position is another fundamental covered in depth, as it is more important than most people realize.
In total, the RST video player learning system has 18 videos covering the setup to ensure you get it exactly right every time.
Takeaway
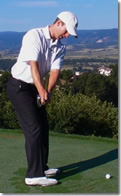
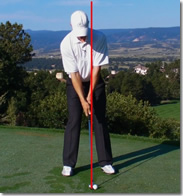
Odds are you know what a good takeaway looks like but have struggled to achieve it consistently. As with all of these positions, my golf instruction videos will not simply tell you where to place the club.
Instead, you’ll learn the one part of the body that moves about 2” and does about 90% of the work to get you into this position.
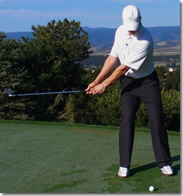
The takeaway is all about rotation and a small, basically imperceptible weight shift to the rear foot.
In total, the RST video player learning system has 13 videos covering the takeaway and faults and fixes for it.
Top of the Backswing
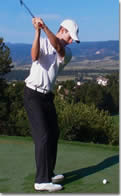
The shoulders have turned 90 degrees or more, while the hips have turned about half that amount.
If you struggle to make a full turn, it likely has nothing to do with flexibility; you just need to learn how to rotate properly. You may experience a full shoulder turn for the first time ever when you use my instruction!
The arms and hands have primarily moved vertically and are in front of the body. Most players get their hands too far behind them here.
In total, the RST video player learning system has 11 videos covering the downswing (including impact) and faults and fixes for it.
Transition / Halfway Down
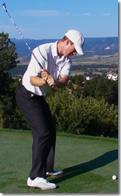
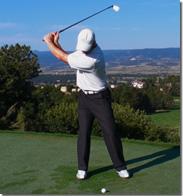
This is the part of the swing that causes the most problems for players of all skill levels. I guarantee you’ve never seen the transition covered like it is on this site!
Getting the transition correct is crucial to maintaining the lag you see here and making a solid strike on the ball with a lot of compression.
It all comes down to sequencing at this point. The lower body and core must shift the weight and provide stability while the shoulders remain passive and allow the arms and hands to drop into the slot.
In total, the RST video player learning system has 21 videos covering the downswing and faults and fixes for it.
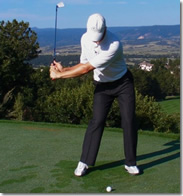
Impact
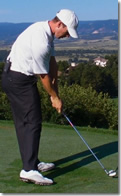
Here’s the big payoff. Use my system to achieve an impact like this, and all your friends will be jealous of the “hiss” your shots produce!
The shoulders are square to the target and fairly level, the head is behind the ball, the hands are ahead of the club head, the spine angle has been maintained and the hips are slightly open.
In total, the RST video player learning system has 21 videos covering the downswing (including impact) and faults and fixes for it.
Follow Through

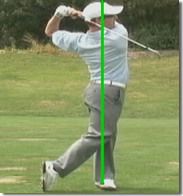
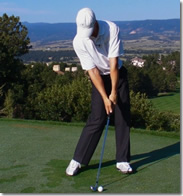
While everything after impact is basically reaction and the result of what came before it, the follow through provides indicators of the swing that preceded it.
You can see how relaxed I am here, and how well I’m aligned from head to toe on my left side.
In total, the RST video player learning system has 2 videos covering the follow through and faults and fixes for it.
