
The shoulders pull the hips
Once you've mastered the setup, the weight transfer, and Move 1, it's time to start looking at Move 2. Typically, when we do our clinics and individual lessons, we focus primarily on setup, weight transfer, and Moves 1 and 3.
Move 2 is literally an inch or two. It's a tiny, tiny movement, but it's how you complete the backswing and get to the top.
As you're learning this, be sure to keep up with the 9 to 3 Drills, rather than worrying about getting all the way to the top of the swing. If you can get from 9 to 3 correctly using your body, the rest of it's just details.
So, let's take a few minutes to look at Move 2.
The motion you started in Move 1 continues in Move 2; that pulling of the right shoulder blade, moving it behind your head and down into the box.
Just Keep Pulling

Right shoulder back
Continue the pulling motion begun in Move 1. By the end of Move 1 you've turned your shoulders about as far as you can without getting your hips involved. Now, as you continue to pull the right shoulder blade back, you'll pull the hips along.
By the time you have completed your 90 degree shoulder turn, your hips will have rotated 45 degrees or less.
You're not actively turning your hips; the rotation simply occurs because you pull the hips along as you continue pulling your right shoulder back.
By the end of Move 2 you're fully coiled up. You can feel it in your core. Your hips are fully loaded up, and your upper body is fully coiled against the lower body. If you pause at this point in your golf swing, you'll find that your breathing is restricted by having all those muscles compressed and ready to go.
Focus on the Shoulder Blade and Lats
You want to focus on two things at this point:
- Continuing to pull the right shoulder blade back
- Feeling that the right lat is engaged when you reach the top
If your right arm stays down and in the box, the right lat will stay engaged. If you hike your shoulder up, the right lat is completely released, disconnecting you from two of the biggest muscles in your body and leaving you with no choice but to swing from the rectangle.
Keep your shoulder blade down and in. Your focal point at the top of the swing is to make sure you can still feel that right lat.
It's All About the Right Side
You have two checkpoints; the right lat, and the right heel and glute. Your right side is what matters at this point.
Can you feel the right lat still engaged so you know you're connected to your body with your arms? Can you feel yourself pushing your right heel into the ground, and feel your right glute engage? If so, you're in a great spot.
If your lats, shoulder, glute, and heel are all working at this point, you may be wondering what the arms do. The answer is, very little. The arms' only job in the swing is to stay in the box, get a little bit of shoulder elevation - just moving your arms up in front of your chest a little - and fold your right arm.
Elevation, Flexion, Rotation

Elevation, flexion, rotation
- Elevation - Extend your arms with your hands facing each other at about belt level, then raise them a few inches so your hands are level with the bottom of your chest.
- Right elbow flexion - Fold your right arm; just bend your right elbow so your hand points up.
- Rotation - Rotate your right upper arm to turn your forearm and hand away from center, like the hand of a clock. (See photo)
Practice the elevation, right elbow flexion, upper arm rotation sequence a few times with your hands apart.
Once you can do those movements, which are pretty easy, you're going to put them together.

Grab your thumb to join the hands
Grab your left thumb in your right hand. This keeps your hands together, joining them as if you were holding a golf club.
Go through the elevation, flexion, rotation movements again with your hands linked. You'll notice that this is the first time in the swing that your hands cross the center line.
You're still not swinging your arms across your body; your arms stay in front of you even as your hands move across.
Do the exercise a few times with your hands linked; elevation, right elbow flexion, rotation. Once you're comfortable with that, go ahead and get into your golf posture and add in the shoulder turn as you do the moves.
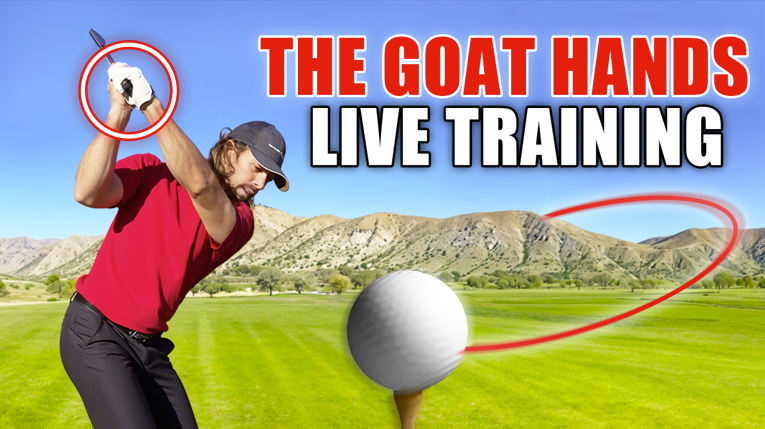
Finally, add the club back in. Pull the right shoulder blade back, elevate your arms, fold your right elbow, add a little rotation.
If you struggle with this, you can take the rotation out for now. Just elevate your arms and fold your right elbow.
Put It All Together

Keep your arms in front of your chest
Now, holding the club, let's put it all together.
Start with Move 1, adding a little bit of shoulder elevation during the move. Get a little more elevation in Move 2, fold your right elbow, add a little rotation, and now the club is on plane.
That's it. That's how you stay connected to the box.
Keeping your arms in front of your body makes it so much easier to bring them down into impact.
Your checkpoints are, again, right heel, right glute, right lat. When you look in the mirror, make sure your right arm is still right in front of your chest. You want to keep it as close as possible to a 90 degree angle to your chest.
Nail that, and you'll have a top of swing position as good as Tiger Woods.
Watch part 2 now to see how you're moving your body in the opposite direction of the pros!









 The shoulders pull the hips
 Right shoulder back
 Elevation, flexion, rotation
 Grab your thumb to join the hands
 Keep your arms in front of your chest
