Video Menu
My Favorite Videos
My Favorite Videos
3 Steps to better impact position in golf
Sorry, you need to be a member to access this video.
You Are Just Seconds Away - Become a member here!
Already a member? Log in now
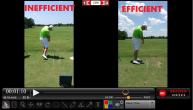
Golf is a sport that can leave you frustrated round after round, but WHY? What exactly are you working on to get over the immense frustration? In this video, I'll show you a 3 step process that got this student into an awesome impact position with more lag and tons of compression. I'll show you how we used a list of premium videos on the site and accomplished a pretty drastic overhaul in just 2 short hours on the range. Stop being frustrated and see just how easy it can be get that amazing feeling of a compressed shot!
- Identify the main issues that are causing a poor impact position
- Check to make sure your setup and posture are perfect.
- Work on fine tuning your release with very small relaxed swings with just the lead hand on the club
- Work on using your lower body to pull the arms down into the hitting area.
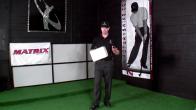
Hey guys, This is RST instructor Chris Tyler.
And I want to share with you guys a very special story that we had recently from one of our members of the site, Long time member who's been a part of our Unlimited review group and who got a chance to come into town and take a private lesson with us here at Rotary Swing.
I want to show you guys a three step process.
That was able to overcome and get him into a much better impact position with a little bit more lag, and also changed his path by almost four degrees.
So it's a three step process that a lot of you players, if you've been struggling with getting lag or getting into a better impact position, you want to pay close attention to this video.
So let's go ahead and get started.
Okay guys, so as I said in the opener, I'm going to be talking about a three step process that was able to help this student, Kevin, Who's been overly frustrated with his golf game for the last few years?
And was even at a point to where he was thinking about giving up the game entirely.
He was just super frustrated and we were able to lay out a pretty clear process of things that he needs to work on.
And be able to relate.
Some of the premium videos.
And how he's going to take these and actually work through them in order to get the same kind of results that we got during the private lesson.
What we ran into for a problem when we first took a look at this golf swing is.
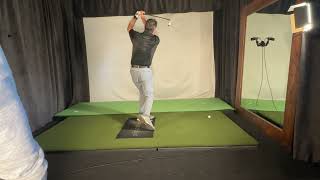
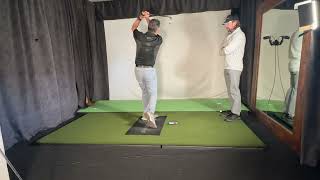
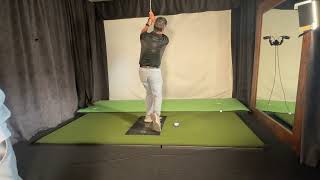
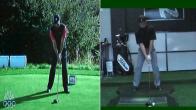
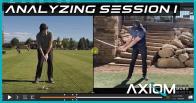
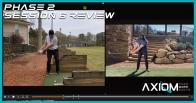
I'm going to go ahead and get both players down right into the hitting area here.
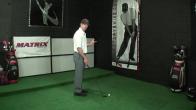
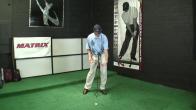
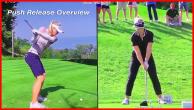
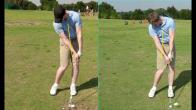
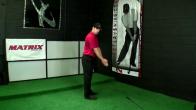
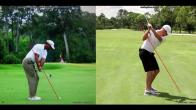
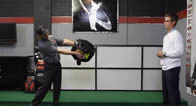
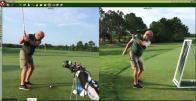
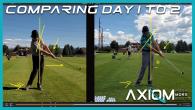
Right hand side of the screen, this is the old Kevin, very similar style position or similar frame here.
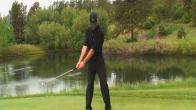
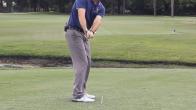
You can see that we've gotten things really jammed up, hands very close to the body, right heels way up off the ground, body's trying to spin open and his path is working really hard to the left side.
We're over here on the left hand side of the screen.
We've got the heel much closer to the ground, we've got the club, the hands and arms starting to extend out in front of us.
I want to just show you guys the process of what we worked on to try to get to this particular move.
He was able to get a lot of great success during the lesson.
And now he has the tools in place that he's going to have to work through these things in order.
Let's go ahead and take a look at the first thing that we had to correct.
In step number one of Kevin's corrective process, We were able to identify what the main problem was and what was causing him to get into these poor impact positions.
And not being able to load up the correct muscles properly in the golf swing.
In turn, he was going to rely on the right side of his body to make up for the lack of power.
In turn, that's what got him into that position that I showed you guys in the first part of the video.
The first thing we had to do is kind of understand what was going to be the best way to get him to load and rotate properly.
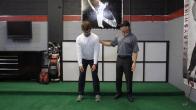
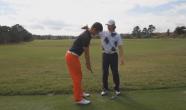
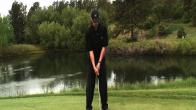
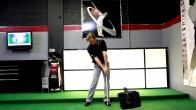
If you look over here on the left hand side of the screen, we were able to make a little bit of a posture correction here where on the right hand side, you can see a lot of roundness from the thoracic spine up, Which, in turn, has got his shoulders showing a little bit more droop here, and he's also got a little bit more knee flex.
You can see this little, tiny window right here, where we're normally looking for the back of the knee to be right over the center of the ankle.
And we were able to get that done in a pretty short period of time, get him comfortable with that.
Setup changes can be really uncomfortable at first, especially if we're so used to doing something, but if you take full commitment to it, Then it allows us to be able to use our big muscles, to be able to move and load and unload in the golf swing.
So that was our first step.
That was the first part of the process.
Here is we just made a posture correction and we, in turn, got him to stand a little bit taller in the knees.
That stuff is outlined in the lower body stability video.
We also have a number of videos in the setup section that are going to talk about how to get into a really good anatomic, biomechanical, safe setup position.
So all these videos are going to be to the right of the video player.
As I go through them, just click the recommended videos.
It's going to go ahead and populate all the videos that pertain to Kevin's corrective process.
And you can use these and make sure you use these in order.
That was the big thing is that we had to do things in order.
All right, So let's go ahead and look at things from a face on perspective.
And I can show you what we did to fix his impact position a little bit more.
All right, guys.
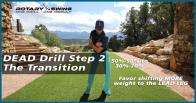
So in step two of this corrective process, We had to identify what was causing him the most harm down in the hitting area.
And we'll go ahead and get you guys to an impact position here.
This is the original starting point.
So you can see from the top part of the swing down, aside from the lack of big shift over to the lead side, there's just a lot of rotation.
But in turn, he's also starting to push against the golf club very hard with the right hand.
So the right hand from the top of the swing and the left thumb for all that matters, we're starting to throw and push against the club.
And then when he gets down in the hitting area, you can see this position here, club head is already starting to pass his hands.
He has lost lag.
He's got that right leg moving in towards his hands.
So what I wanted to do is I wanted to spend some time with him just working on the release.
And what we did to correct that is we worked from a hip high to hip high area.
So I had him kind of preset his weight on his lead side.
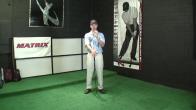
And then we sat there and we swung his arm without a golf club.
We used his shoulder.
I made him think that his shoulder was a pivot point, that his left arm could just kind of swing underneath.
And he was amazed by how little tension he wanted to be able to feel with that particular move.
So we had him work out to where his Glove logo was going to be out in front of us out here at nine.
And then his Glove logo would be facing behind him at three And I had him do that for a good number of reps.
So I had him really grab a hold of what it's feeling like to be able to allow the left arm to stay relaxed, allow the left wrist to feel like it's just rotating.
And in turn, we started to slowly add the club back to the mix.
And he was able to get the club to start to allow it to do what it's supposed to do.
And that's rotate.
And once he started to get that feel, then we moved on to step number three, Which was really kind of the defining moment of the lesson and before we started to put it all back together.
So let's take a look at number three here.
So steps one, work on posture.
Step two, we worked on the release.
Left hand release drill and five minutes to a perfect release.
Those are some great videos to give you the correct feel of how we want to let go of control, to get control.
All right.
So let's take a look at step number three here.
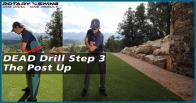
So in step three of this corrective process, we had to really kind of chunk apart a drill here, Chunk up a drill that was going to allow him to put more shift in his move and not allow the body to continue to rotate through the hitting area.
Because that was really the primary mistake that was happening.
You can see over here how his right knee kind of jams in towards his left.
And then he starts to throw the club from the top.
Because he's not allowed to use his body as a big powerhouse or a big, powerful tool.
And you can see again, this is where the club shaft is starting to pass his hands.
He actually gets himself into a little bit of a scoopy position here.
You can see that the hands are really scooping at it.
So all in all, we made some really great progress with this drill.
It's a good drill for you guys to try out.
It's much like the squat to square.
And this is before we started to put it all together.
So we went, step one was correct the posture.
Step two is really try to focus on what the release is supposed to feel like.
We slowly started to allow him to put the right hand on the club.
Even though I would normally tell him to keep the right hand off the club, he was in town to play and play in a big guys outing, big guys golf trip where he wanted to play a lot of golf.
And so we had to be able to allow him to get that right hand on the club and see how he could feel.
And have it cooperate with the left hand.
So we slowly did a lot of left hand drills and then built ourselves up to where we could rest the right hand on there.
And then what we did is that we felt like we were going to just sit into this lead side now.
So you can see a big shift now with very little rotation from the body.
All right.
So you can see that his lead arm is still up here, about parallel to the ground, while he's shifted his weight over to his left side.
And then he's going to start to post up in the left side and then he's going to control the rotation.
Now, you can see a much more different appearance here as his hands are starting to approach in front of his trail thigh.
So you can see that we're starting to get a little bit lag.
Now this is not, obviously it's not perfect yet, but he's got the right tools to start to work towards perfection.
He still likes to push the club or throw the club a little bit early, But in turn, we were able to get him into a much better impact position, to where his right knee is not jammed in the left.
And now we've got some forward shaft lean here at the hitting area with a really nice looking appearance here as far as impact positions are concerned.
Maybe a little bit jammed up still with the left side, but all in all, some really great improvement.
And so that's kind of the way we worked through this process is we had to correct posture, number one, to make sure that we were going to load up and use our big muscles to start to create power.
And then we worked on the release, Just slowly starting to get some good feel of what that was like.
To let go of control and really let the club do what it's designed to do.
We slowly let the right hand get back on there and then we worked on the sequence drill.
And in turn, We were able to work up to full speed, where we shallowed out his golf swing pretty drastically, and we were able to keep the same sort of speed that he had.
So at least we knew that we could send him on his way and he was going to be able to play some good golf.
So let's just look at the final slide here one more time, and we'll lay out a game plan for you guys at home.
All right, everyone.
So here we are back at the big payoff.
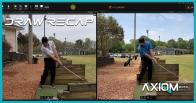
Where the Kevin of New is on the left hand side of the screen and the Kevin of Old is on the right hand side of the screen.
You can see kind of where we were at the starting point, right to the end, where he was able to maintain his speed, he was able to get into a much better impact position with a little bit more lag.
And in turn, we started to strike the ball, strike the golf ball really beautifully towards the end of the session.
So the point is, is that when you, when you look at the way we want to work through these processes, we've got to take things in very, very small pieces.
So we made a posture correction.
We did that for a number of minutes.
We made sure he got started to get a little bit more comfortable with it.
And then we slowly started to work on the release, making sure that everything was very concentrated, that he really grabbed a hold of what we were trying to accomplish with that.
And then we slowly added the right hand back to the mix and started to get the feel of through the hitting area.
Of what it's going to be like to actually let go of control and let the club do what it's supposed to do.
And then after that, We worked up into that sequence drill that you saw and really kind of slowly started to ramp up the speed.
And we got to the point where we got into a much better impact position.
And now he's not wanting to quit the game.
He wants to get out there and play a lot of good golf.
And so the point is, again, is just to make sure if you're going to play or practice through changes, take things in really, really small strides.
Make sure that you work through things in a process.
There's no point of going out there and trying to put the foot on the accelerator and go on 110 miles an hour, go slow, and you'll get yourself there faster than you ever thought you would.
All right, guys, now let's get out there and play some great golf and make it a great



































































































Terry
Craig (Certified RST Instructor)
Terry
Craig (Certified RST Instructor)
Thomas
Craig (Certified RST Instructor)
Stephen
Craig (Certified RST Instructor)
Adam
Craig (Certified RST Instructor)
Adam
Adam
Craig (Certified RST Instructor)
Brandon
Roger (Certified RST Instructor)
Craig (Certified RST Instructor)
Roger (Certified RST Instructor)
Craig (Certified RST Instructor)
William
Craig (Certified RST Instructor)
Ali
Chris (Certified RST Instructor)
Joseph
Chris (Certified RST Instructor)