Video Menu
My Favorite Videos
My Favorite Videos
Phase 2 - The Release
Sorry, you need to be a member to access this video.
You Are Just Seconds Away - Become a member here!
Already a member? Log in now

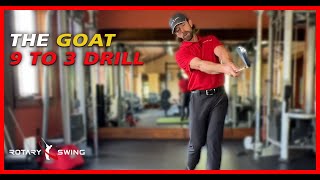
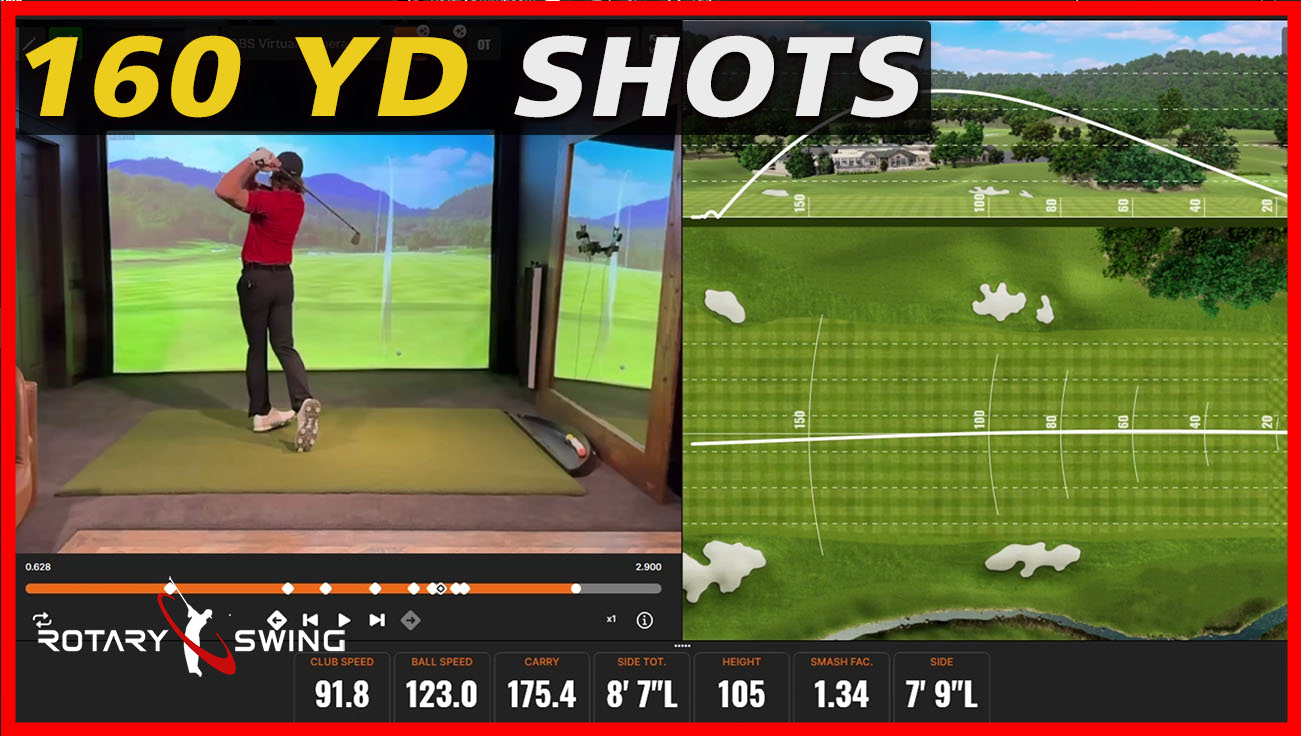
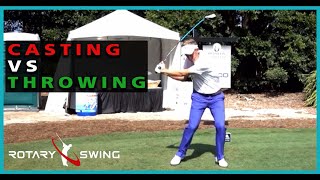
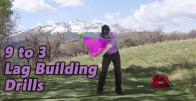
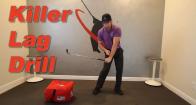
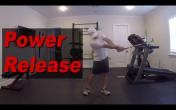
Phase 2 is where you get your first taste of what it feels like to have effortless speed in the golf swing. Learning how to release the golf club properly not only rewards you with free speed, but it is also where you learn how to shape the curvature of your ball flight!
- The 5 Consistency Checkpoints remain the same
- But now the clubface is toed up or slightly in at 3 o'clock
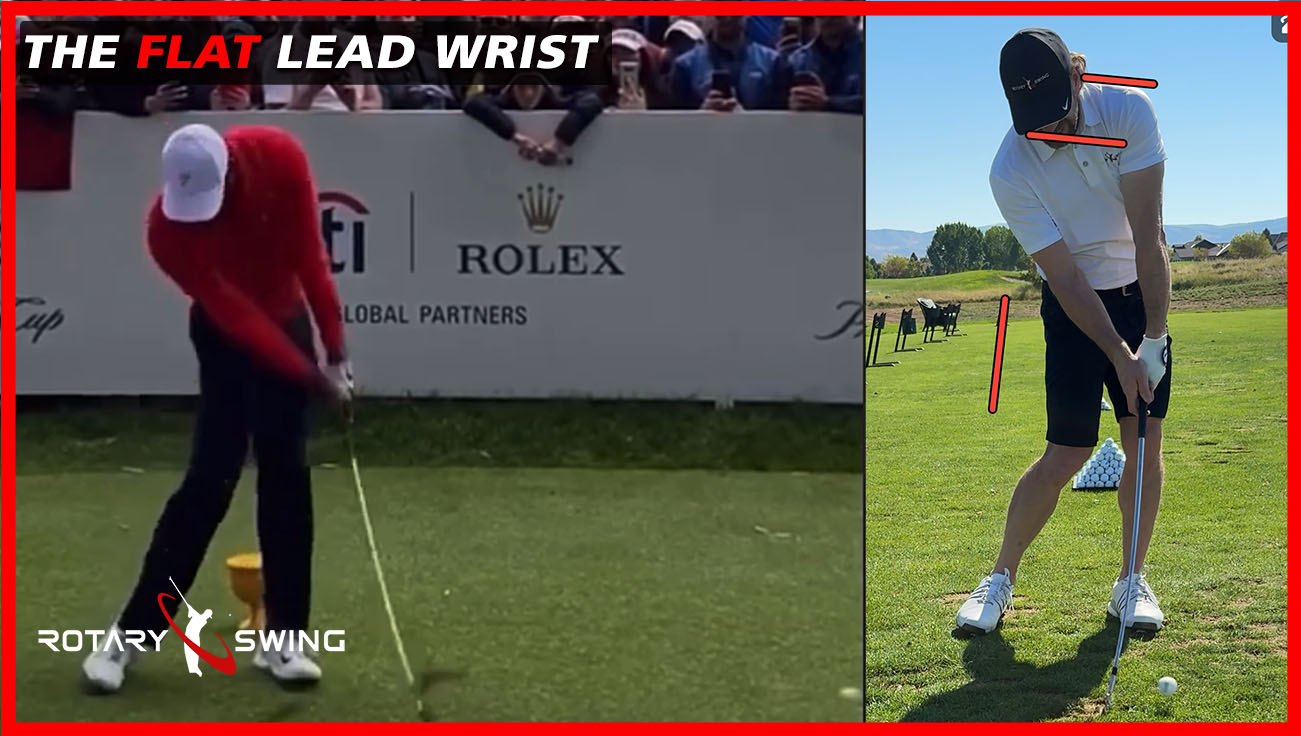
- And the lead wrist is flat or slightly cupped at 3 o'clock
As you move into phase two, things start to get a lot more fun.
Because not only are you going to add more distance to these shots to your nine to three drill.
But you're going to learn how to be able to start shaping the ball and you're also going to have a lot more distance without increasing your effort whatsoever.
That is what rotary swing has always been all about is effortless power.
I love hitting the ball a long ways while putting the minimal amount of effort into it.
And I want to share that secret with you.
And the release is where that comes from.
So as we add this little release, you're going to be shocked at how much further the ball goes with the same length backswing that you were doing in phase one.
So let's take a look at what this is all about and how we're going to get this feel for it.
The first thing that I want you to do is get a feel for the freewheeling nature of the release.
Many golfers don't understand what the release is or what it means.
So ask yourself what does it mean to release something?
Well it means to let go right?
That is what you want to feel in your golf swing.
The release is not about control or manipulation or flipping your hands over or trying to hold off the release.
That's the opposite of releasing it.
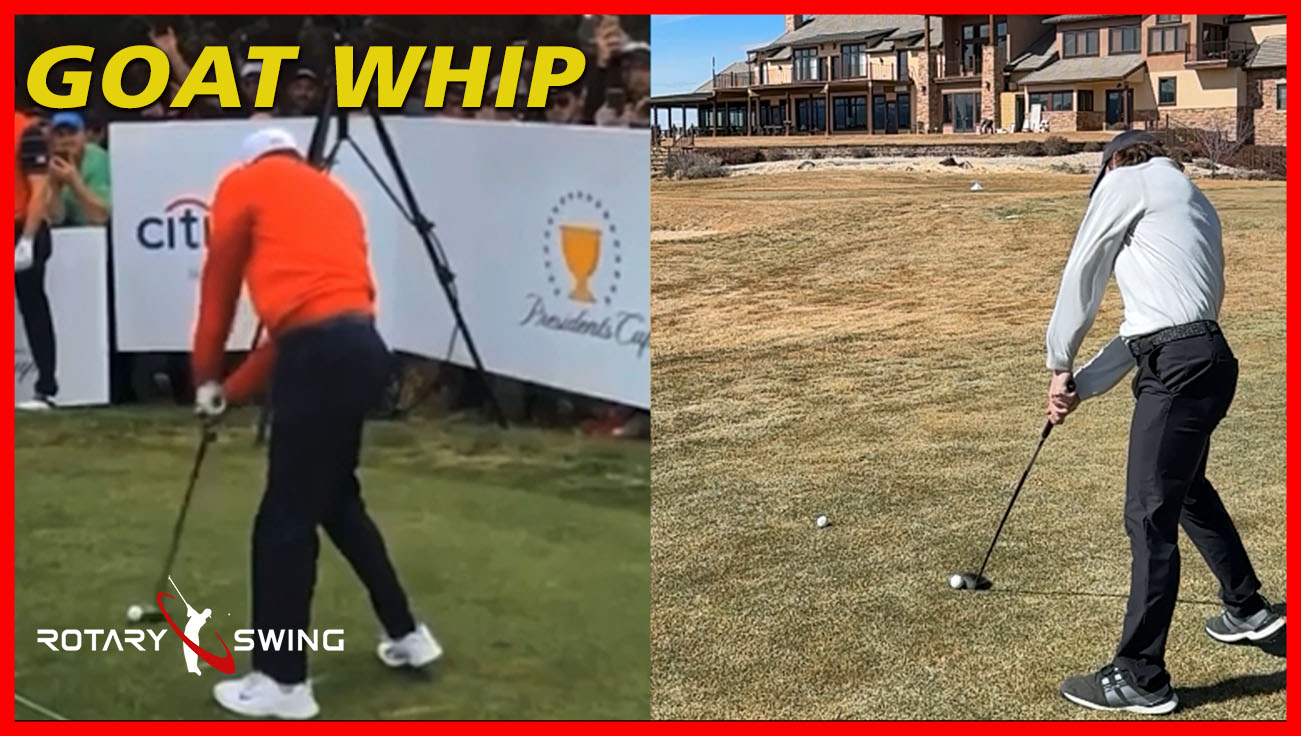
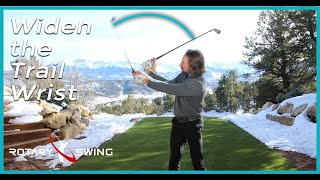
You want to let the club go and so at first that's actually what I'm going to have you do is literally let your trail hand, right hand for right-handed golfers, Come off the club before impact and you'll be amazed when you get this feeling for how well the club will whip through impact.
And you'll probably start to feel how much you've been impeding the release and costing yourself effortless speed by trying to be too controlling with the club.
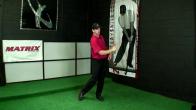
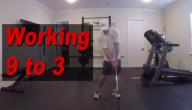
So when we do this, what you're going to start to feel is this again the same nine to three move.
But you want to start to let that right hand come off before impact.
You'll see my right hand is very light on here and as I do this the club just whips through and I'm just letting it go.
The release is not just about letting go it's also about rotation.
The Clubface is always rotating throughout the entire swing, and you take a look at every Tour Pro, you'll see the Clubface towed in on the release, or even towed over released over.
A little bit more.
And that's because they're letting the club go.
They're letting it really zip through impact.
If you see the clubface like this, you're literally holding off the release because you're not allowing your forms to rotate passively to release that golf club.
So by letting the trail hand come off, you'll get a feel for what that feels like for that club to naturally release.
Without you trying to manipulate and control it.
So as you're making some practice swings at first just again nine to three backswing movement very small and then just let the hand come off.
And as I let my left hand release what I'll start to feel is the club brushing the grass.
We don't want to be digging any squirrel graves here.
You're not pushing the club down in the ground you're wanting it to brush the grass.
A great divot is a bruised piece of turf not a giant squirrel grave like I mentioned before.
So we're just letting the club release and as I do this I'm going to go back and reinforce the checkpoints that you've already learned.
So you're going to make sure your shoulders are square which you can do when you let your trail hand come off.
My hips are open, my pressure's on the lead side, head down.
And now, instead of looking at my position at impact, where I was holding off the release in phase one.
Now we're going to start to look at two more checkpoints that we're going to add to your swing as you're building your your movement pattern here.
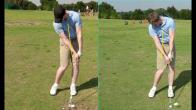
The first one is from up the line when you're looking at it that club face should be towed up or slightly towed in.
We don't want to see this that's a held off release.
If you're slicing this is the last thing on earth you want to do.
You need that club to be rotating and releasing through the hitting area in order to not just add speed but help square the face.
If you recall, in Phase one, I said, if you're seeing the ball kind of consistently, launch out to the right just a little bit, that's okay.
Because we weren't allowing the club to release.
Now the opposite should be true.
We're not going to see that ball go to the right.
We don't want to see the ball go to the right at all during this phase when you're releasing it because that means you're not releasing it enough.
You're holding off that release costing yourself speed and consistency.
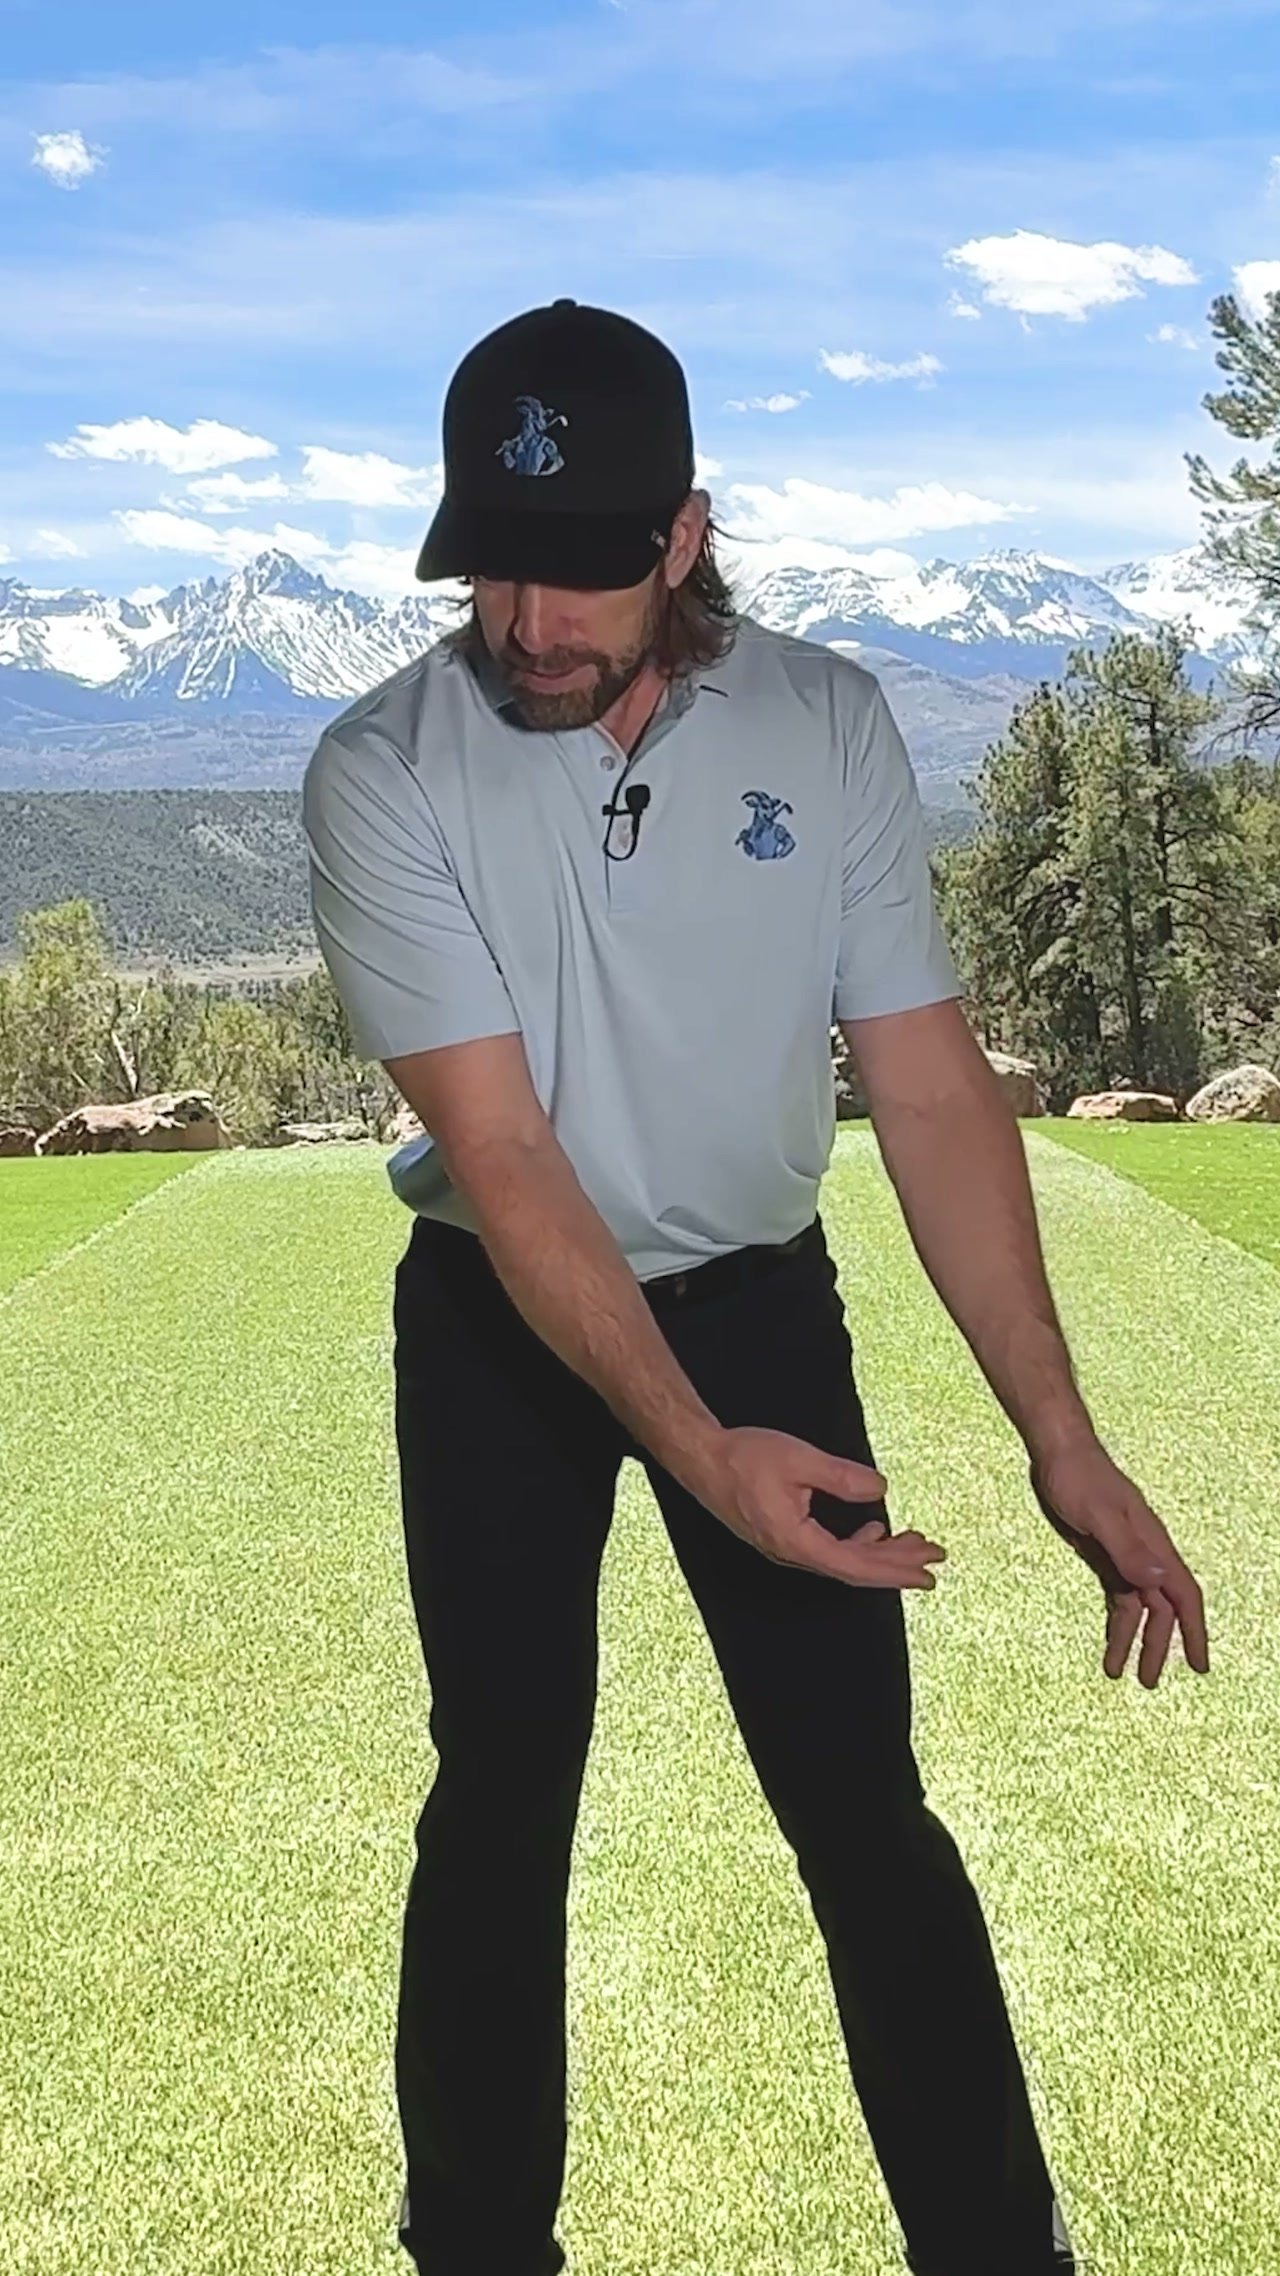
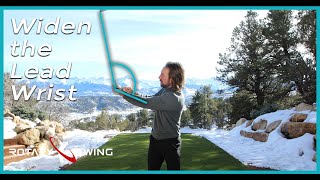
The second thing is we don't want to see this wrist completely cupped and broken down like this.
A little bit of cupping is perfectly okay.
If you're a flipper, you're somebody who hits the ball really high and looks like this at impact.
You're going to work on getting this wrist to be pretty flat through the hitting area, which will close the club.
Face down a little bit, which will help you start to ingrain the idea that your lead hand is for control, the right hand is for power.
And you're starting to get control of that club face and get rid of that flip.
But we don't need to be bowed like this that's extremely shut and that's going to lead to a lot of left shots for right-handed golfers.
A little bit of cupping is normal.
I I like to think about as if you're shaking somebody's hand.
You're not going to shake somebody's hand like this.
You're not going to shake somebody's hand like this.
Your wrist should be anatomically neutral, which you can see has about 10 or 20 degrees of cupping in it.
So that is a normal, neutral position to be in in the release and that will get the club with a proper grip.
Slightly toed in so you can consistently hit the ball straight or with a slight little draw.
As you move into hitting balls as I mentioned we're going to let that trail hand come off a little bit at first.
A little bit before impact is great.
We want to learn how to let the club release.
Let it release.
That's the key.
So when we're doing this, you want to start to get a feel of letting the club.
Just brush the turf as your right hand comes off.
And you'll find from your nine to three that instead of hitting these little 10 yard shots, the ball is going to go about 40 or 50 yards.
That's what we're looking for in phase two.
We don't want to hit any farther than that in phase three.
We're going to show you how to nuke that puppy as we start adding speed into it, but at first, we just want to let the speed come to us.
We want to feel what it feels like when the ball rockets off the face and I didn't do anything.
You saw, when we first did our in phase one, these shots were going very, very short.
And then by letting the right hand come off, that ball rocketed another 30 yards.
And that's what I want to feel.
I felt no power no effort.
It was just letting the club go.
Once you get a feel for this, and you're consistently finding in your checkpoint that you're still hitting all the checkpoints from phase one.
But, of course, the wrists were now allowing to cup slightly in the release.
Or, if you're a flipper, you may want to practice keeping it a little bit more bowed at first, just so that you get out of the habit of flipping.
But all the other checkpoints are the same.
Head down pressure on the lead side hips open shoulders square.
If we've got that.
And you're letting that right hand come off, and you're seeing the ball fly nice and straight and not to the right.
You're seeing your your club face released instead of held open.
You see if I hold it open because I'm holding off the release look where the ball went and look at my club face angle.
I could hold a glass of wine on there.
We're not waiters we're golfers.
We want that puppy to be released.
So what you're learning from phase one is how to hit the ball straight without releasing the club.
You're learning how to control the impact conditions.
Now you're learning how to get speed into it effortlessly and how the club release helps square the face.
If I don't release it you're going to see the ball go off to the right just like you saw there.
The first one went nice and straight.
If you over release it a little bit which is normal when you're letting the trail hand come off it'll go a little bit left.
That's okay.
Your goal is to learn how to balance out the use of the right hand and left hand to get them to work nicely together.
Which is what you will do once you're hitting your checkpoints, letting the trail hand come off.
If you're doing that consistently and you're seeing the club face is nice and released, your wrist is in a good position, you're hitting all your other checkpoints.
Then we're going to move into adding that right hand back on there, so we still get the same result.
But now we've got to let the trail hand rotate over so we can shake hands on this side with a trail hand instead of just letting it come off.
So same thing a little nine to three swing.
Now I chunked that one a little bit.
Now as we get into the faults and fixes what's going to cause that?
I hung back.
I didn't use my lower body enough.
I started to kind of get lazy with my lower body and so my pressure was too much on my trail side and I could catch that in my checkpoints.
As I was working through them, I know that I hung back a little bit.
So I need to be a little bit more assertive of getting off this right side and that will be normal.
You're going to get kind of fixated on swinging the club and hitting the ball, so you're going to.
Your lower body might kind of take a nap for a little bit, just like you saw there.
So that's okay.
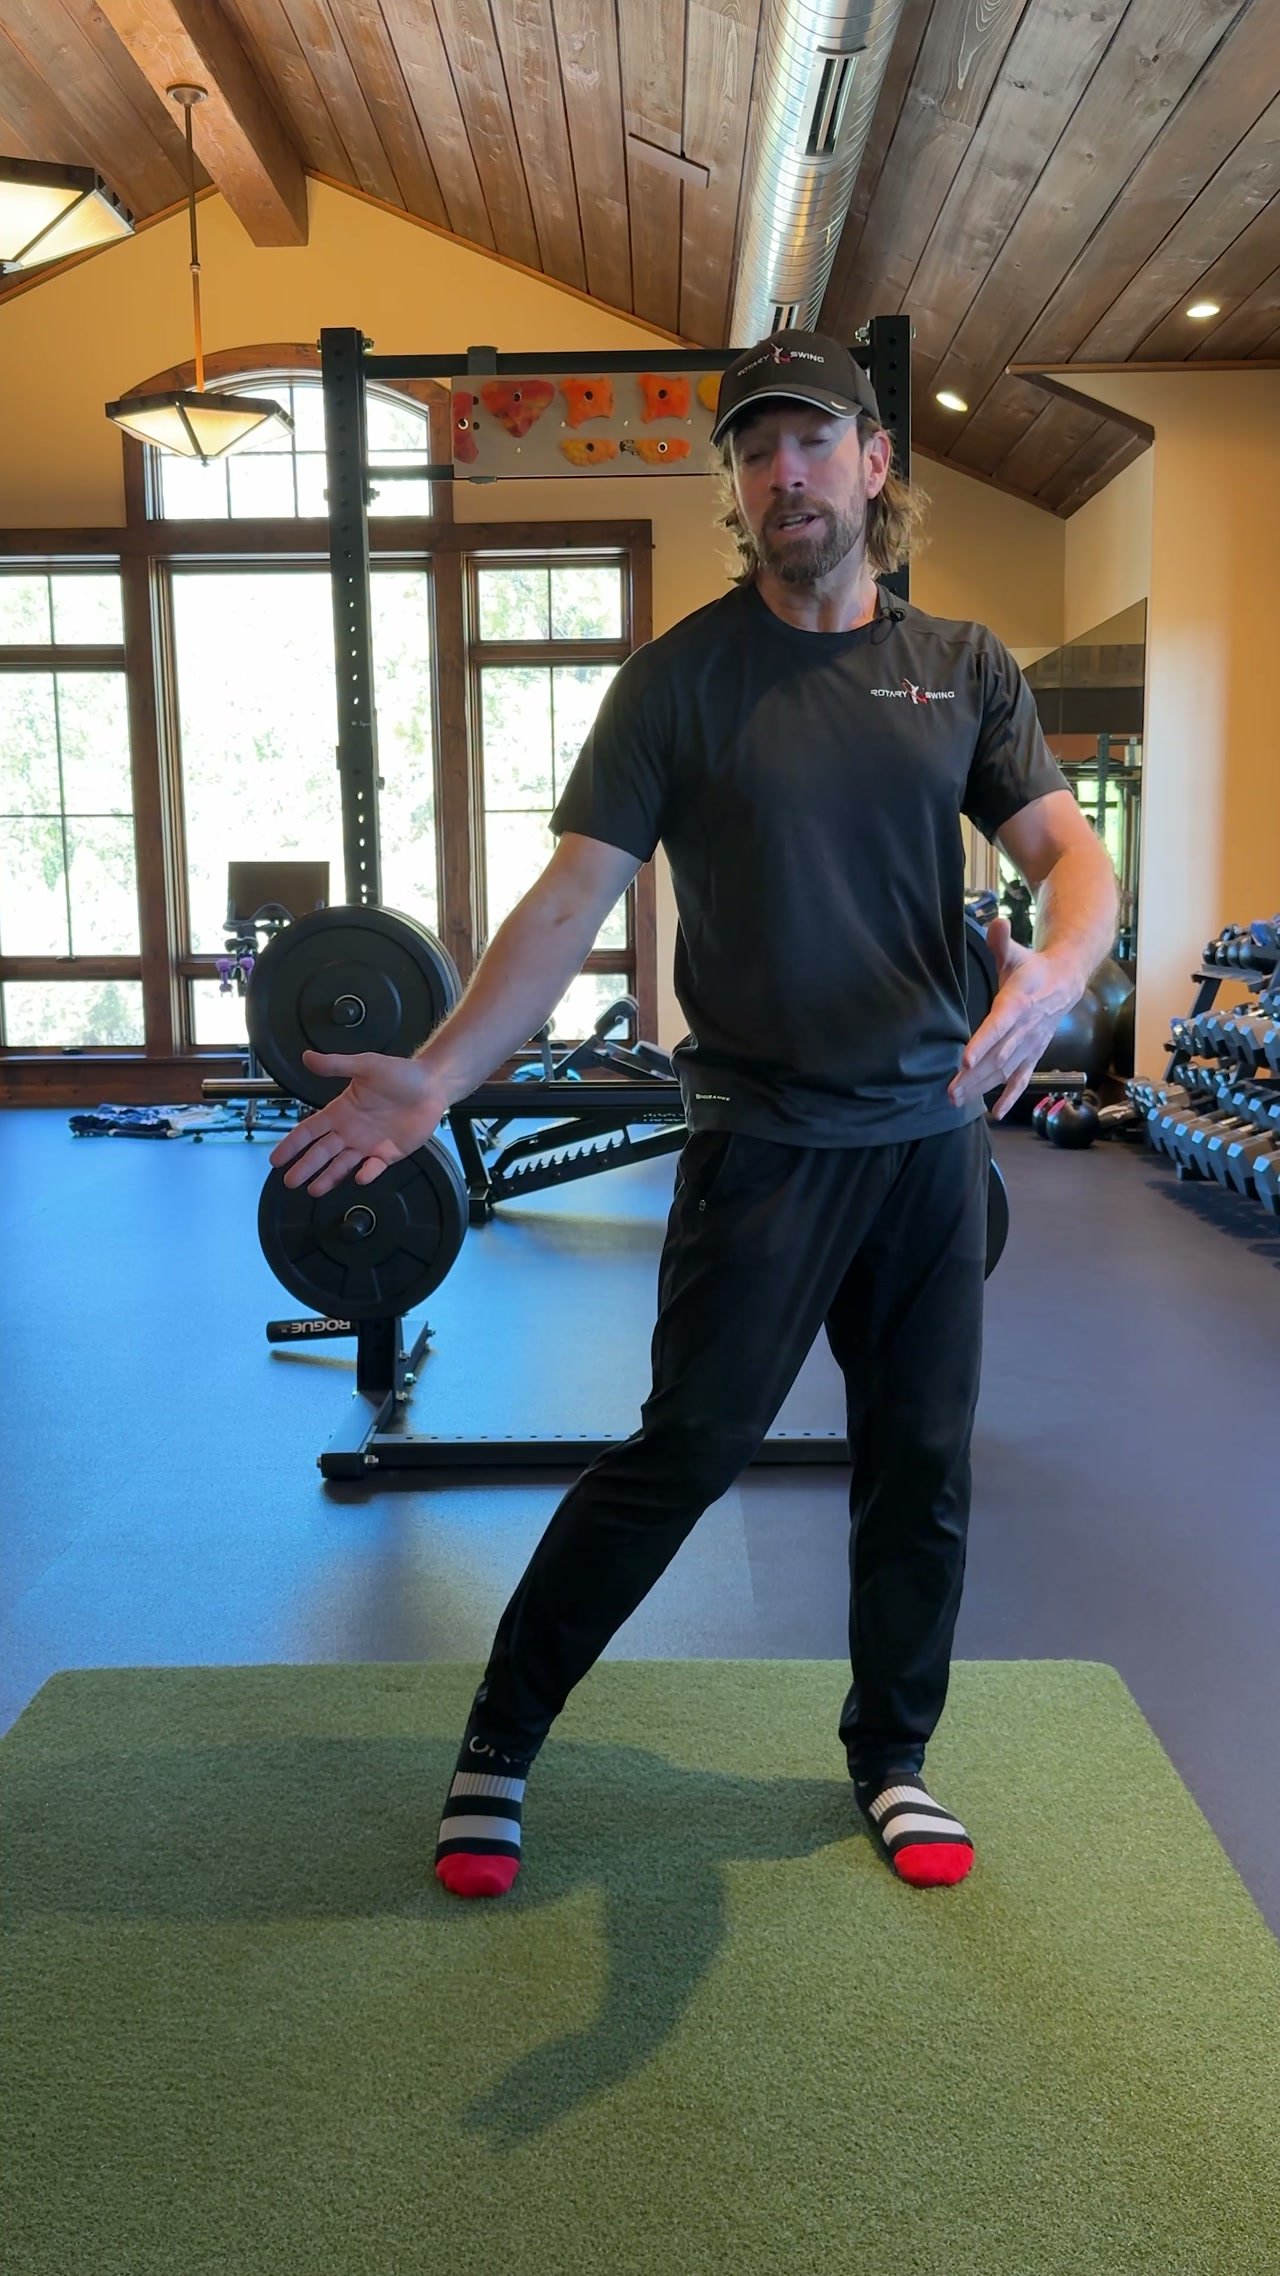
Go back and do a couple practice swings and make sure you get that right foot rolled in.
That's going to weigh a checkpoint.
If your foot's rolled in you've moved more pressure to the lead side.
If it's flat at impact you're still hanging back too far and you'll hit shots like that which will be chunky and tend to be to the left.
So now I know okay I got to make sure I got a shift.
Pay attention to what I'm doing.
There we go.
Now I'm checking that my club face is towed up or slightly towed in.
That my wrist is flat or slightly cupped and that my posture is still in the same spot.
My pressure's on the lead side.
Hips are open.
Shoulders are square.
Head down.
If I did all that, good.
That counts as one good one.
And as long as the ball was pretty much starting on my line.
And our goal again is we're going to hit it about 40 to 50 yards, and we want about a five yard grouping.
Five yards on either side of the flag is a good margin of error.
If you're hitting it spraying it all over the place you need to go and check your checkpoints because you're starting to manipulate that club face.
They should all start to do about the same thing over and over.
There we go.
Nice and straight.
Checking my checkpoints.
I'm at roughly three o 'clock.
Pressure's on the lead side.
Hips are open.
Shoulders square.
You keep doing this.
Keep going through your checkpoints.
Making sure that everything is a-okay.
Another good one.
Notice that I'm keeping my head down and back.
I'm not trying to go up here and look at the ball.
I'm trying to keep my head back and down.
I can look at the ball as long as I let my head swivel, but you don't want to pick your head up.
It pulls you out of your posture.
So once you can do this, eight out of 10 times consistently, where you're hitting all your checkpoints.
And the ball is ending up in a nice tight grouping at about 40 to 50 yards.
We don't want to hit it any further than that.
Then you're ready to start ingraining it.
If you find that you're missing these checkpoints, go to the faults and fixes.
Find the fault that you're struggling with and you'll be able to find a solution in there.
Make sure you track your practice in the notes and in your self -assessment.
Track the things you're doing right.
Track the things you're doing wrong and enter your score so you start to see your trend improve over time.
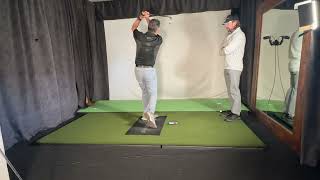
All right, let's take a quick look at my nine to three move here.
I'm going to let it play through first.
I'm going to come back and take a look at it.
We'll look at this in slow motion at about 240 frames per second.
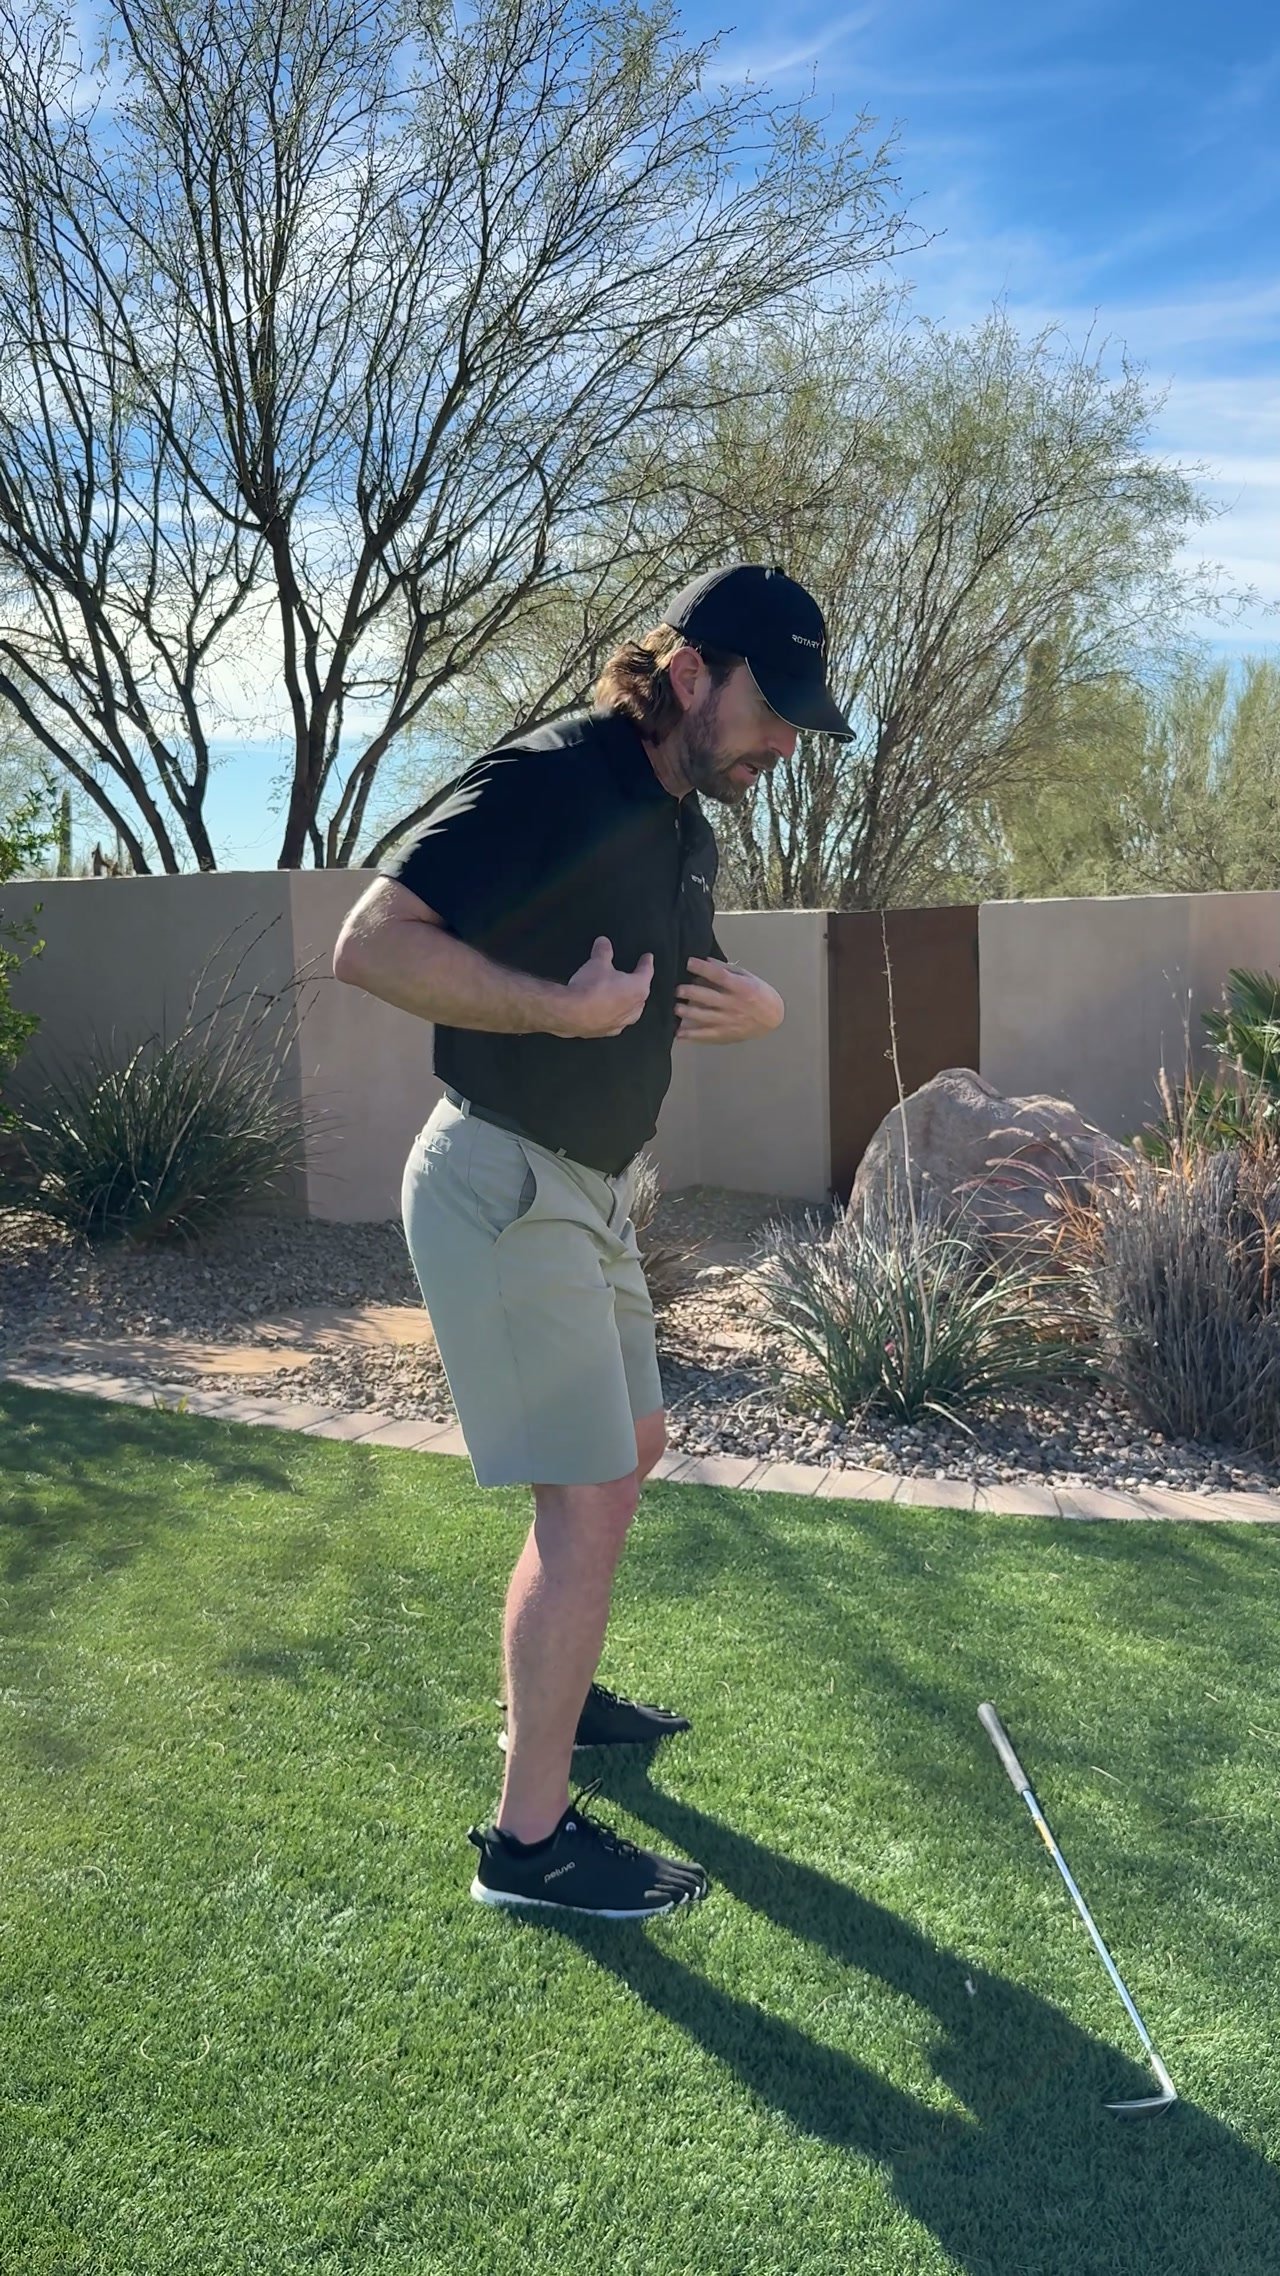
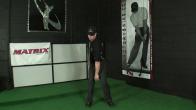
So the first thing you'll notice, I'm making a turn.
My logo and my buttons on my shirt move first and then my lower body leads and I'll let the club fully release and get into a good impact position.
Now, let's walk through it a little bit more slowly, so we can talk through some of the things that you're going to notice as you're working on this drill yourself.
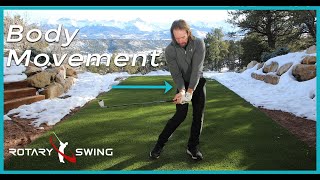
One, as I mentioned, the first big thing is to make sure from a proper setup you start rotating right away.
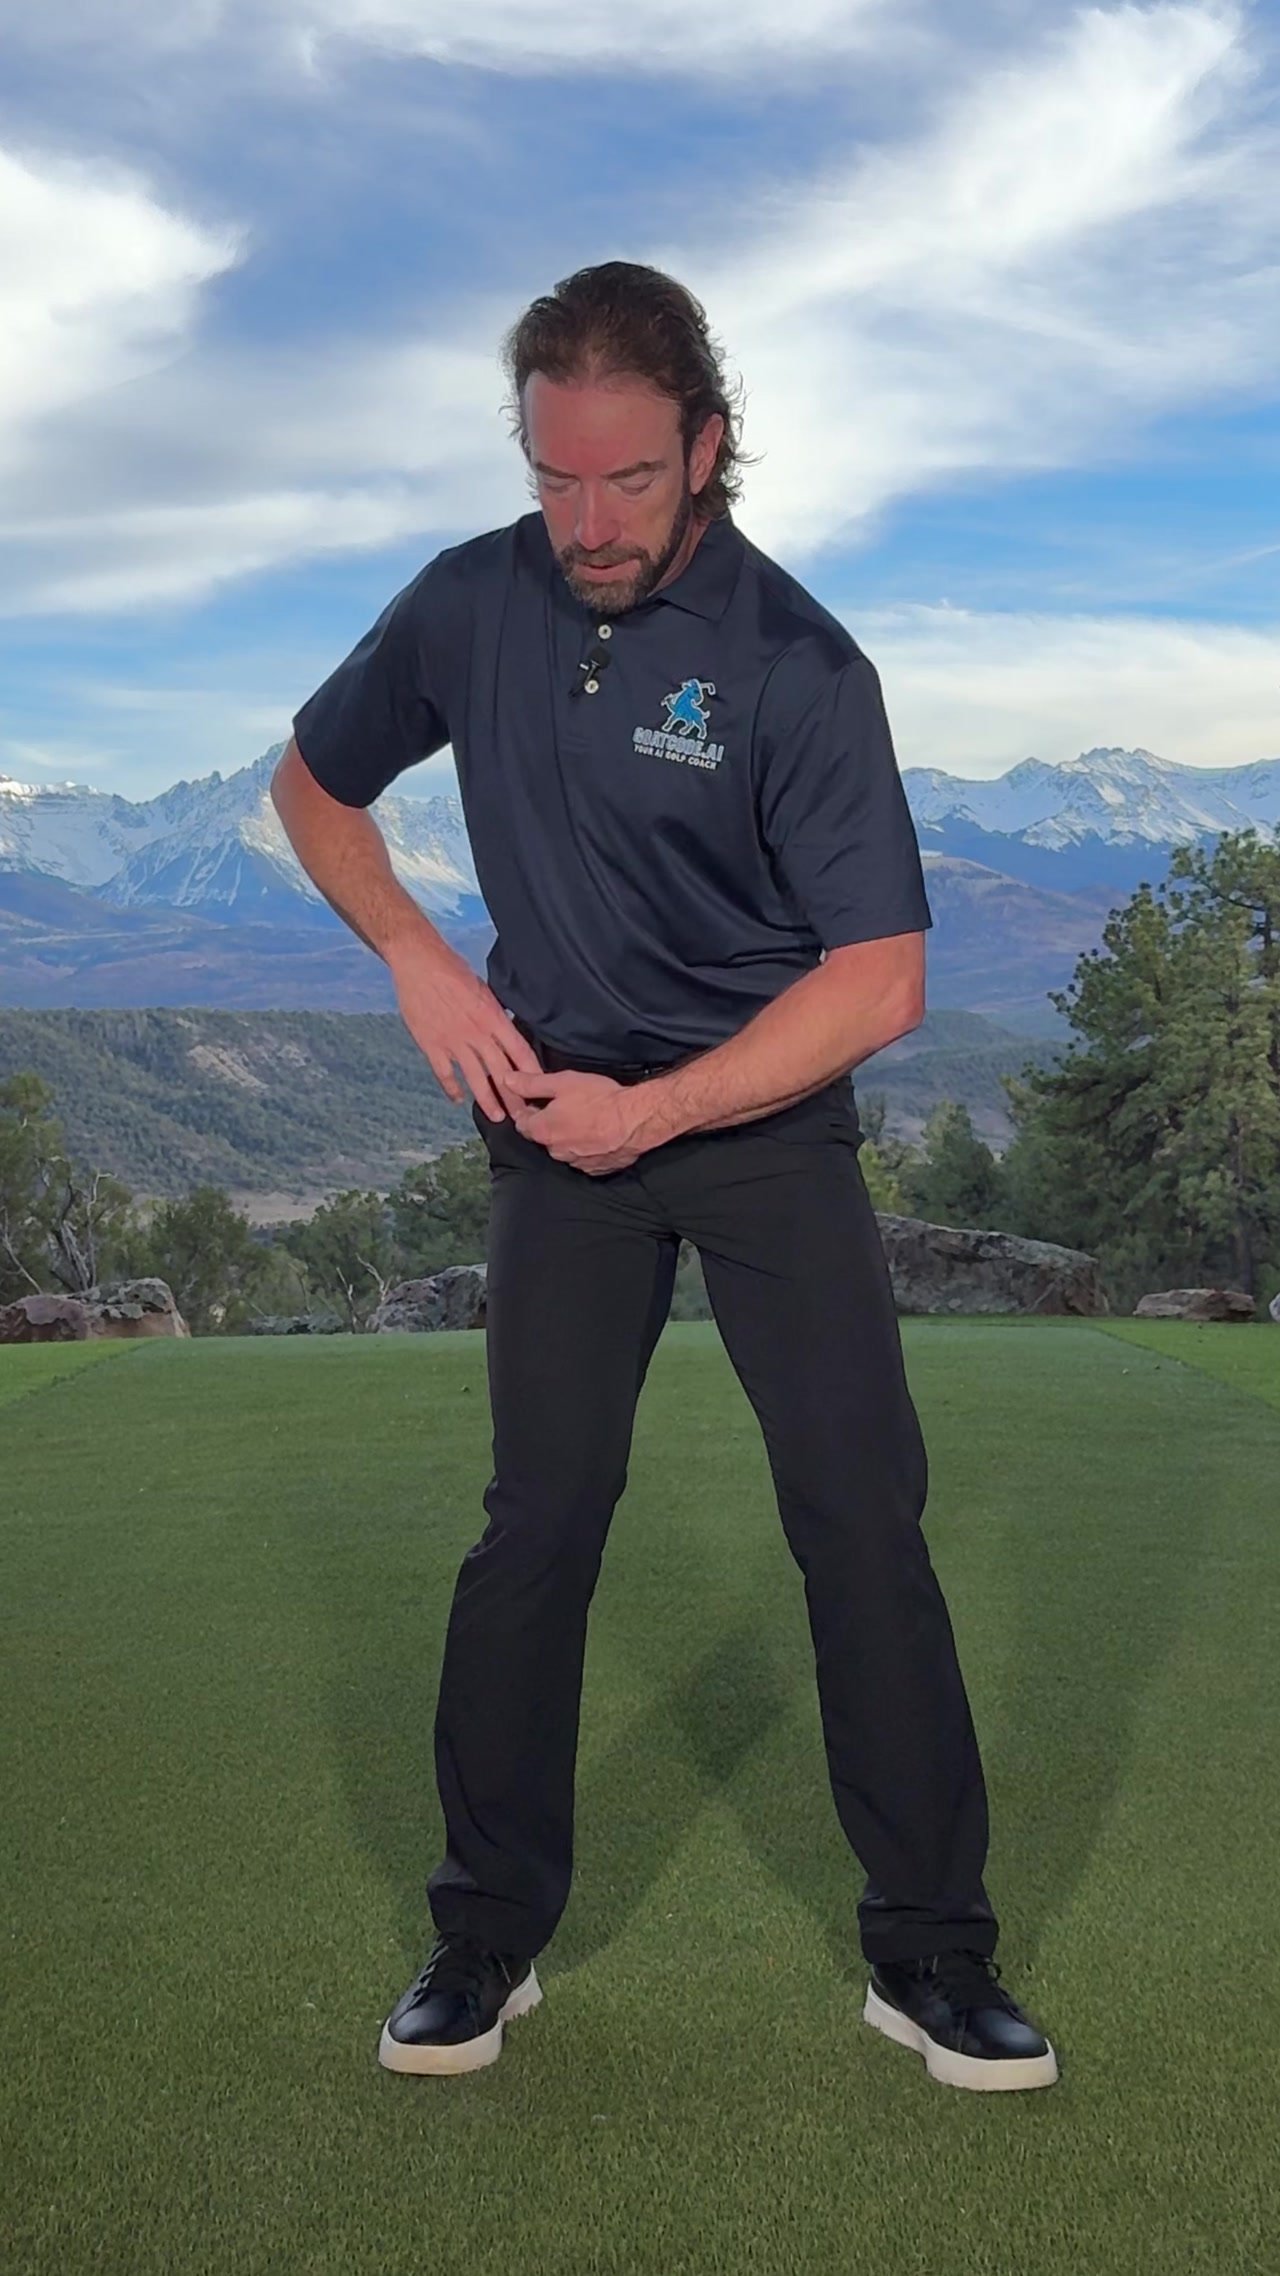
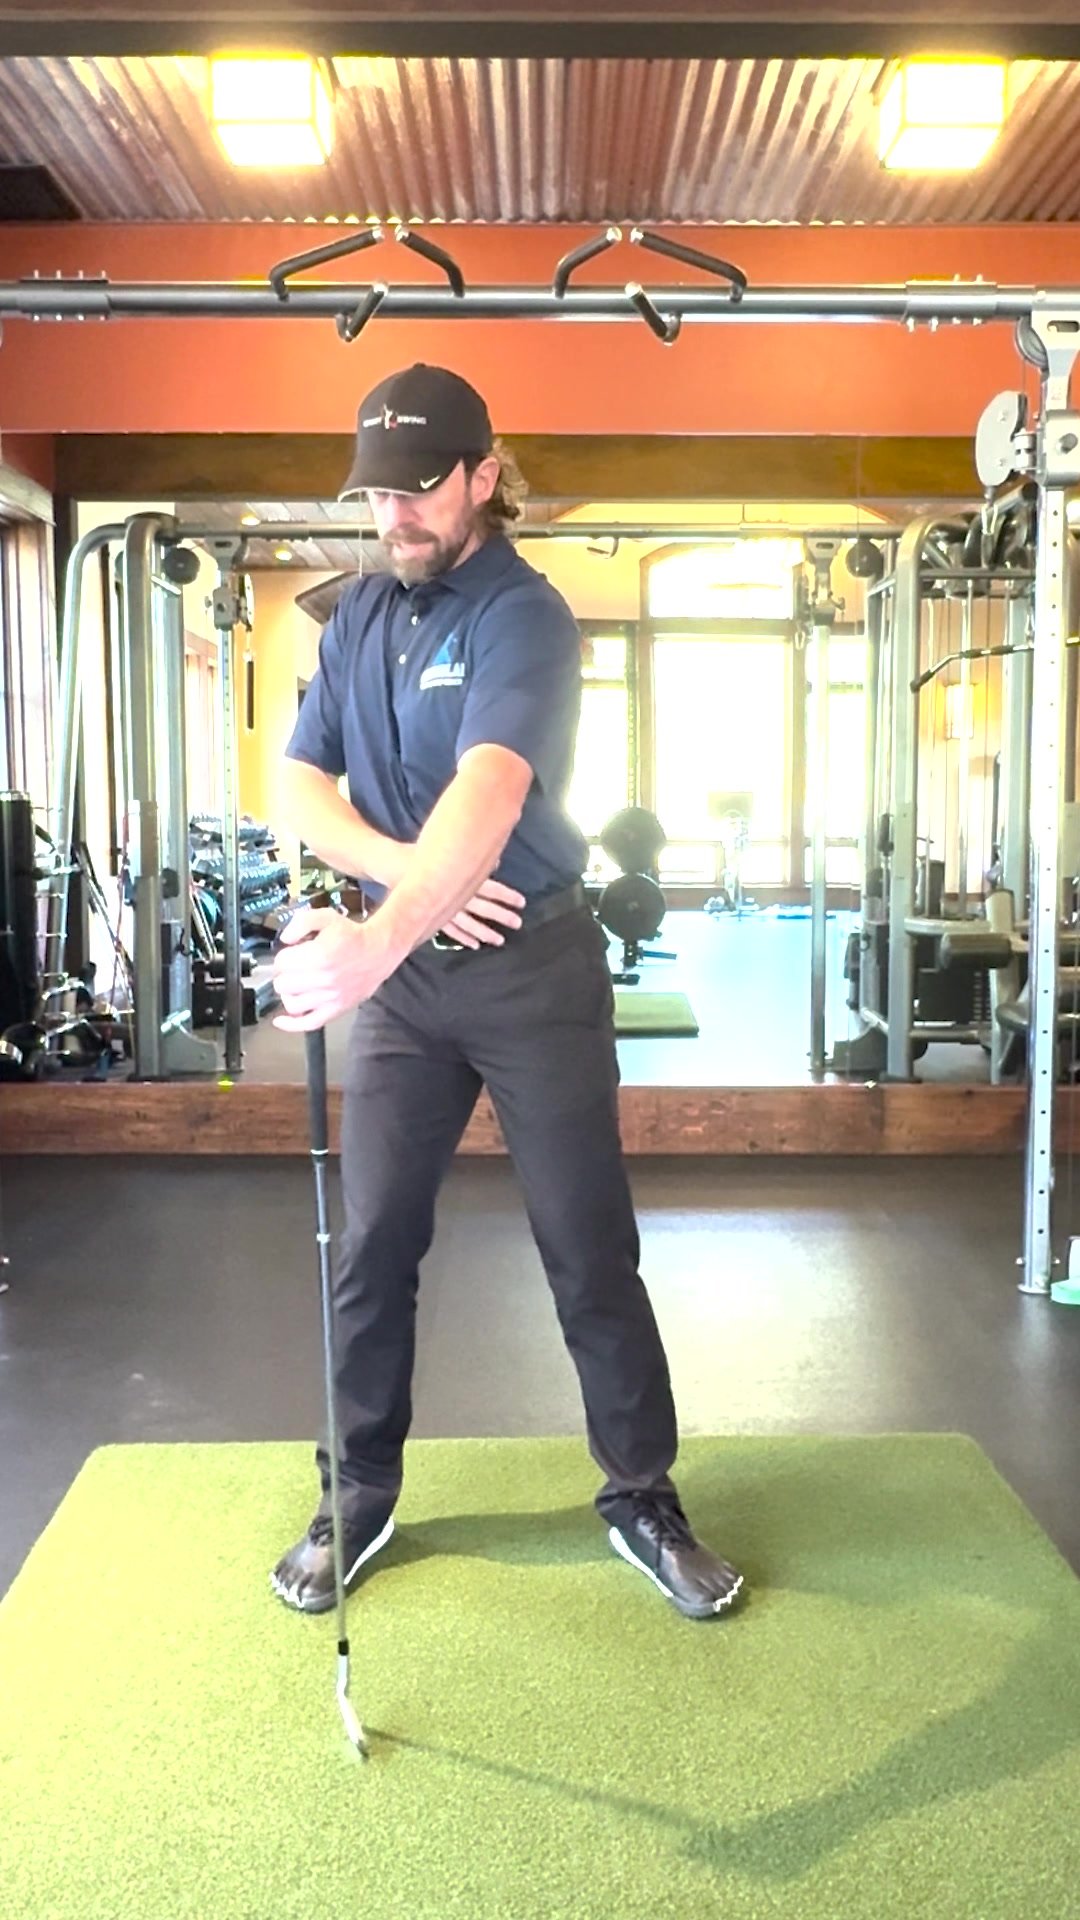
You can see the buttons on my shirt and my logo are moving immediately and by the time the club shaft is parallel, which would be our nine o'clock position, that my hands have a nice big space between my hands and my pocket and my right arm is nice and straight and my hands are in front of my chest.
This is what we're looking for.
If you see this right arm all bent like this, then we're in trouble because now we're getting very armsy with our swing or taking power out of our swing.
So you want to stay nice and wide and just turn.
You can see my head has stayed nice and centered.
I've shifted a little bit of pressure to my trail leg and now I've loaded that up on this small swing to help me shift back to the lead side.
Now, if you stop here at a nine o'clock position, you will lose a little bit of distance from the shot that I hit here, which went about 50 yards.
As you add a little bit of momentum and you relax, you'll keep going a little bit past this perfect nine o'clock position and so from here you would only hit it maybe 25 or 30 yards.
But as you keep going just by letting a little bit of momentum, this is not me trying to turn further.
I'm still feeling and thinking that I'm stopping at nine o'clock, but I'm relaxed.
I'm not trying to force myself to be rigid and hit these positions just perfect.
You'll do that at first as you're learning to hit these checkpoints.
I don't want you to be rigid, of course, but you will stop at a true nine o'clock.
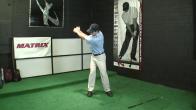
But as you get comfortable, I want you to start to allow that momentum to carry you back just a little bit further and let your wrist set naturally.
And you'll note again, so I've made a big shoulder turn here to move that golf club.
Then as I start down, you can see my pressure, my lead hip starts to move back first and then that helps bring the arms down.
Of course, now we want to make sure that we've got a nice flat left wrist at this point, which we do.
And the other thing that you're going to note that I failed to mention in the video is that when I'm talking about shoulders being square, that's only at impact.
After impact, your shoulders will of course start to open a little bit.
You don't want to be ripping your chest open.
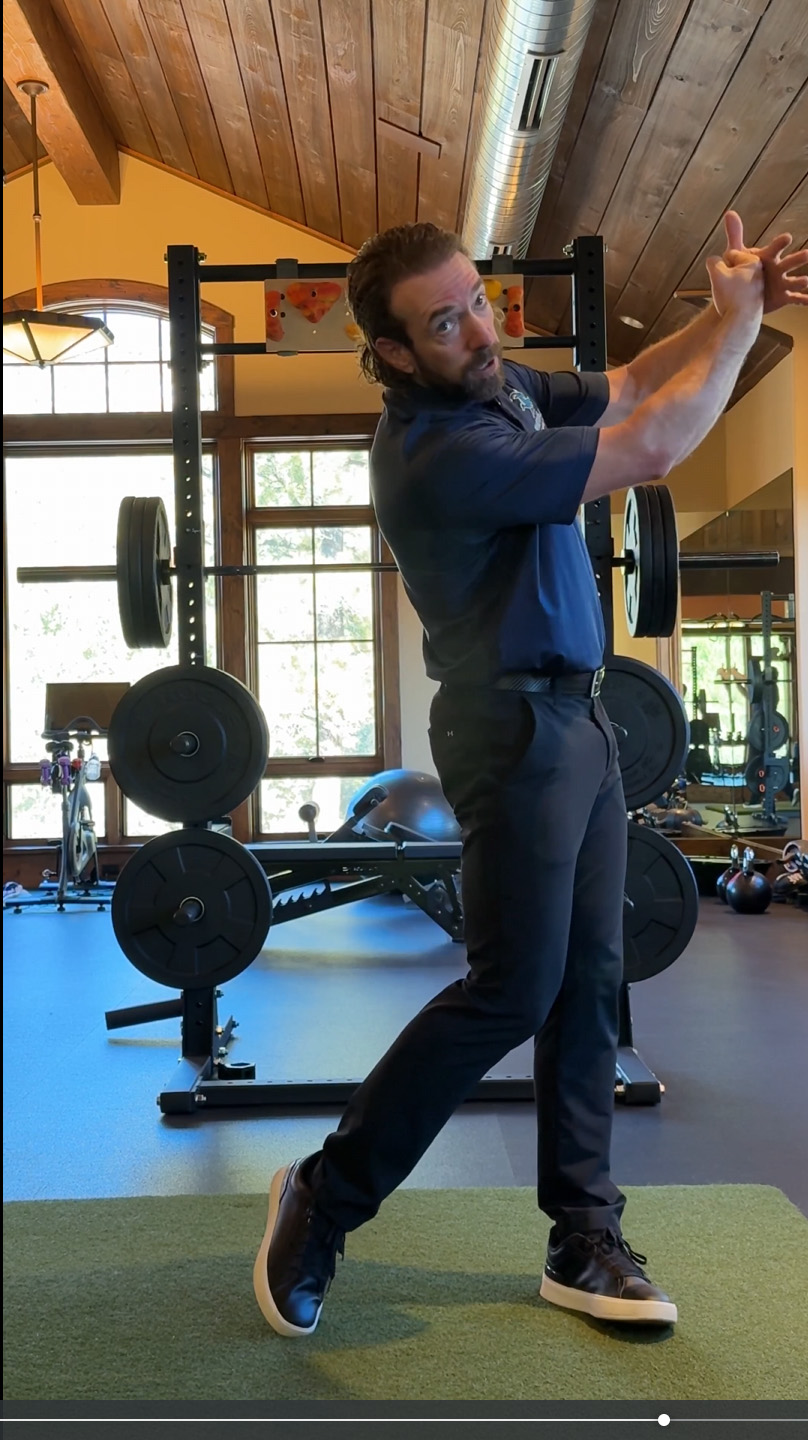
You'll see that as my forms begin to rotate, that my chest opens, but my hands are staying more or less in front of the chest.
And so then when we, if we were to stop at the perfect three o'clock position, when the club shaft is parallel on the other side, your chest will be a little bit more open.
Now mind you, my neck is fused at C one, two, and three.
So my head is kind of stuck with my chest.
So really your head would probably be looking down here a little, a little bit more, as long as you don't have any restricted mobility like I do, but everything else you can see here looks standard.
I have pressures on my lead side.
My left leg is straight.
Clearly my hips are open.
My right foot is rolled to the inside, and I've done the best I can to keep my head down with my physical limitations.
And again, the momentum is going to carry me up here just a little bit further to where the lead on is parallel, because now I'm releasing the club.
I'm not trying to hold everything off.
I'm wanting everything to just freewheel through.
And this will be the position you end in about when you're hitting about a 50 yard shot.
So this is what you're looking for.
So it's going to be very simple to get this movement, to get the release down, just using your body to turn, use your lower body to shift and bring you back through and let that club release and start feeling some effortless power.

























































































































































































































































Thomas
Craig (Certified RST Instructor)
Thomas
Craig (Certified RST Instructor)
Richard
Craig (Certified RST Instructor)
Mike
Craig (Certified RST Instructor)
thomas
Craig (Certified RST Instructor)
joseph
Craig (Certified RST Instructor)
Greg
Craig (Certified RST Instructor)
Greg
Craig (Certified RST Instructor)
Greg
Craig (Certified RST Instructor)
Matthew
Craig (Certified RST Instructor)
Eric
Chuck
Andrew
Chuck
Andrew
Andrew
Chuck
Andrew
Craig (Certified RST Instructor)
Shaun
Craig (Certified RST Instructor)
Shaun
Yugan
Craig (Certified RST Instructor)
Vikram
Craig (Certified RST Instructor)
Dennis
Craig (Certified RST Instructor)
Anthony
Craig (Certified RST Instructor)
Dennis
Craig (Certified RST Instructor)
Michael
Craig (Certified RST Instructor)
Paul
Craig (Certified RST Instructor)
Paul
Craig (Certified RST Instructor)
Paul
Craig (Certified RST Instructor)
Christian
Craig (Certified RST Instructor)
Paul
Craig (Certified RST Instructor)
Paul
Craig (Certified RST Instructor)
Ross
Craig (Certified RST Instructor)
Rex
Craig (Certified RST Instructor)
jim
Craig (Certified RST Instructor)
Adam
Craig (Certified RST Instructor)
Adam
Craig (Certified RST Instructor)
Adam
Craig (Certified RST Instructor)
Don
John
Don
Craig (Certified RST Instructor)
Stefano
Craig (Certified RST Instructor)
Tausif
Craig (Certified RST Instructor)
Mark
Craig (Certified RST Instructor)
Mark
Craig (Certified RST Instructor)
Scott
Craig (Certified RST Instructor)
Michael
Craig (Certified RST Instructor)
Romer
Craig (Certified RST Instructor)
Roger
Craig (Certified RST Instructor)
Roger
Craig (Certified RST Instructor)
Joost
Craig (Certified RST Instructor)
Joost
Craig (Certified RST Instructor)
Roger
Craig (Certified RST Instructor)
Roger
Craig (Certified RST Instructor)
Roger
Craig (Certified RST Instructor)
Roger
Craig (Certified RST Instructor)
Roger
Craig (Certified RST Instructor)
Roger
Craig (Certified RST Instructor)
Roger
Craig
Craig (Certified RST Instructor)
raman
Craig (Certified RST Instructor)
raman
raman
Craig (Certified RST Instructor)
raman
Matt
Craig (Certified RST Instructor)
Matt
Craig (Certified RST Instructor)
Donald
Craig (Certified RST Instructor)
James
Craig (Certified RST Instructor)
James
Craig (Certified RST Instructor)
Christopher
Craig (Certified RST Instructor)
Christopher
Craig (Certified RST Instructor)
Thomas
Craig (Certified RST Instructor)
Thomas
Craig (Certified RST Instructor)
Jonathan
Craig (Certified RST Instructor)
Chuck
Thomas
Craig (Certified RST Instructor)
Juan Eduardo
Craig (Certified RST Instructor)
Joey
Craig (Certified RST Instructor)
Robbie
Craig (Certified RST Instructor)
Bryan
Chuck
Stephen
Craig (Certified RST Instructor)
Stephen
Brian
Joost
Craig (Certified RST Instructor)
Brian
Craig (Certified RST Instructor)