Video Menu
My Favorite Videos
My Favorite Videos
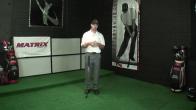
Winter Golf Training Program - Setup
Sorry, you need to be a member to access this video.
You Are Just Seconds Away - Become a member here!
Already a member? Log in now
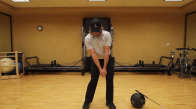
Our premium golf training program for winter months
As I mentioned in the introduction video, setup is where everything starts and typically gets thrown off track.
I'm not going to go in depth on all of the fundamentals of setup.
We've covered it in many, many other videos.
So if you're not familiar with all the setup fundamentals of RST, go back and watch those setup videos before embarking on this program, because I'm going to skip along and move through some things very quickly.
The goal here is for you to be able to follow along and get yourself into a perfect setup.
And then weight shift every single time from here on out for the rest of your golfing life.
So let's start out with how we do that.
Again, I'm not going to go over the fundamentals of stance, width and weight, shift or balance and all those things.
You should already be familiar with those.
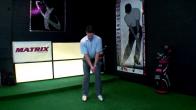
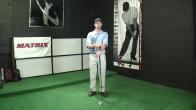
So we're going to get in our proper setup, proper stance width.
The main thing I want to focus on in getting you into a perfect setup every single time is axis tilt.
It is the foundation of a good setup, and it's so often overlooked and so often botched by so many golfers that it causes so many problems.
There's no reason to not get it right.
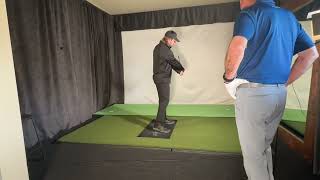
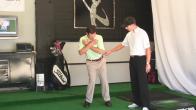
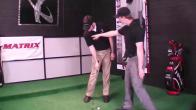
So what I want you to do from your setup with stance width is every single time I want you to work on getting your hips to shift just a little bit to the left.
As you watch here, it's about an inch and a half, two inch movement.
As I do that, my upper body falls back.
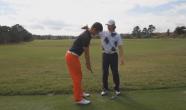
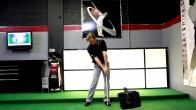
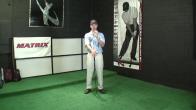
So what I want you to work on is starting from a perfectly upright spine, slide your hips to the left and let your right hand work under your left.
Notice that as I do this, My hands are in the center of my chest and they move forward because they're not changing in relationship to my chest.
So your goal with this move is just walk yourself into a setup position to where you are now set up behind the ball.
Also note that as I do this, my head and my eye line tilts.
Your whole body should fall back as your hips move forward.
They're moving in a reaction to your hips.
You're not trying to tilt your upper body.
Just slide your hips forward and keep working on getting this feeling of your weight settling into the left side, but also being counterbalanced back to the right.
So you're just going to try and do this about 25 times and hold that position that you feel every single time.
And feel how your right legs kind of canted in, left legs a little more upright and your upper body falls back.
Now, as you're doing this, the goal is what is the next move from the setup position?
So we've done this 25 times.
We're going to do this every single day so that this now becomes normal.
But how do we get that first move going back?
That's what we want to combine because this is a pretty simple move.
It's a static motion.
You're just kind of getting set into this position to get everything set up ready for takeoff here.
The first thing I want you to add into this is taking your right heel and lifting it up in the air and smashing it down.
And you'll notice as I do that, I'm letting my weight move to the right.
I'm exaggerating this a little bit.
My hips don't need to move that far.
But what I'm trying to feel is an assertive move into the right hip so that I can start loading up on that hip as my first move, which is what we're going to start working on with the weight shift.
So we're going to combine getting set up, lifting the heel, stomping.
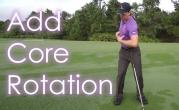
And you'll also notice that as I'm stomping, I'm starting to let my body rotate.
My belt buckle is turning and my buttons on my shirt are turning because we're trying to get the feeling of loading up on this hip.
One thing you may be like asking yourself right now is, well, I thought I wasn't supposed to move my hips at all during the takeaway, just my upper body.
We teach people that because most people do this immediately during the takeaway.
The reality is your hips are moving during the takeaway, But because so many golfers just turn their hips and they don't get the separation from the upper and lower half, don't focus on that a lot.
So in this drill, again, this is expecting that you already understand the fundamentals of RST.
We're going to start to blend things together.
So yes, my upper body is turning.
It's turning more than my lower body, but my lower body is also turning during this initial weight shift.
So as I lift and stomp, I'm now loaded up on my right hip and it's ready to go.
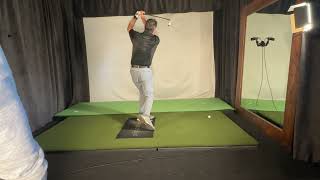
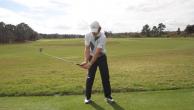
I'm down the line and you see the same thing.
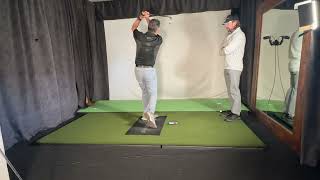
So I'm going to get into my setup.
Notice that I've slid my hips to the left and as I've done this, I haven't turned my shoulders and I haven't cocked my hips this way, which we see all the time.
It's just a direct lateral slide.
I'm lifting my right heel, planting and turning.
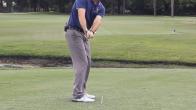
You'll notice as I do this, I'm just kind of going back to takeaway position where my hands are about pocket high.
As I'm doing this, you'll also see that my hips are beginning to rotate.
You can start to see my belt buckle here and my left knee coming out, indicating that my hips have begun to turn.
The feeling, the goal here is loading up on this right hip or if you're a lefty, your left hip.
You want to start feeling that this leg is really loaded and driving into the ground.
So that you're starting to be able to activate these muscles in your hip.
So that as you get loaded to the top, they're going to be able to fire on the way down.
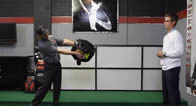
So if you want to take this another step further, you can work on it with a medicine ball.
You're going to get into your setup position.
Now I've slid my hips forward a little bit, lifting my right heel, stomping and turning.
Now as I'm doing this, I'm starting to feel my weight shift, and you'll also notice that I'm letting my left heel come up a little bit.
This is obviously an exaggeration of the drills.
We're not wanting to necessarily lift our feet up in the swing all the time, but it is a great drill to help you force yourself transferring weight from one side to the other.
So that's really what we're looking for here.
So lift my heel from setup position, lift, stomp.
I want to stomp it in the ground so that I feel those muscles in my legs and my hips activate and get myself halfway back in the takeaway.
I'm down the line.
I'm going to lift my heel, turn, lift my heel, turn.
So I'm just handing the medicine ball to you.
And now I'm really feeling load in this hip and starting to store up energy in my core as I turn.
And the medicine ball adds a little bit of resistance to it.
Of course, you can do the same thing with the golf club.
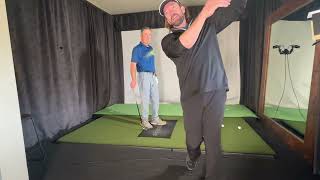
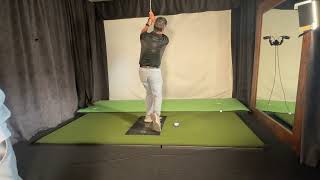
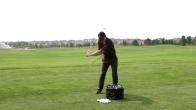
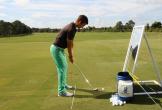
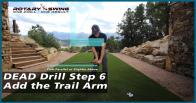
Getting our setup position, I'm going to slide my hips to the left.
You'll notice that my right shoulder is lower than my left now.
I'm going to lift my heel, stomp and turn.
I'm doing this, club's just going halfway back.
I'm not doing anything with my hands or arms.
I'm just turning, getting myself into a really good, wide, powerful, loaded up takeaway right from the first move.
So your goal is to try and do these exercises, just this movement for 15 to 20 minutes a day, nothing else.
And don't just rifle through them.
That's not going to do you any good.
You need to be really focusing on what it is you're feeling as you do this movement.
And what we're trying to feel, our primary emotion, Is weight shift and drive and activation in that right hip with some rotation from a good setup position.
So setup, lift, stomp.
As you start getting good at this, you can start making that stomp smaller and smaller.
So that instead of being this big lift where you really have to lift it a lot to really feel it, as you get more skilled, what you're going to notice is that you can just kind of lift your foot up in your shoe.
You don't have to lift your heel way up in the air.
And then eventually it just becomes more of a natural movement.
You don't have to lift your feet up at all.
But for a while, it's a good exercise because it kind of gets you from being stuck and frozen over the ball.
Kind of let your weight move back and forth from one heel to the other.
Keep doing that.
And if you get better, It just becomes more of a natural little kind of a swing start guide to help you load the right muscles during the takeaway.
Now, if you really struggle with feeling this right hip, What I want you to do is I want you to do a one legged lunge.
And you can use your golf club to help you kind of stay balanced here.
So I'm going to show you what I want you to feel here.
So I want you to try and get your leg in a vertical position directly over your ankle.
And what I want you to do is without moving your knee back and forth, keep it right where it is, try and lunge up from this position.
So notice that my leg is going to stay in the same spot.
I'm not doing this.
I'm not getting way out of my toes.
I'm just lunging up and down from this spot.
And you won't be able to go full range, but you'll get close.
And I'm just doing this on my right leg right now because what I'm trying to feel is the activation in my right hip.
Those muscles that you feel during the lunge are the exact same ones you want to feel halfway back during your backswing.
So you can add those lunges, try to do both sides to balance it out.
Add those little lunges to help you feel activation in your right hip if you struggle with that.
Again, 15 to 20 minutes of setup.
We're going to get to our setup position, lift the right heel, stomp, rotate halfway back.



























































































Kulraj
Craig (Certified RST Instructor)
Kevin
Craig (Certified RST Instructor)
Fred
Craig (Certified RST Instructor)
Fred
Craig (Certified RST Instructor)
Jaleel
Craig (Certified RST Instructor)
Jaleel
Ronan
Craig (Certified RST Instructor)
richard
Craig (Certified RST Instructor)
T David
Craig (Certified RST Instructor)
Curt
Craig (Certified RST Instructor)
Steve
Michael
Craig (Certified RST Instructor)
Lee
Craig (Certified RST Instructor)
Caleb
Craig (Certified RST Instructor)
Mary
Craig (Certified RST Instructor)
Ed
Craig (Certified RST Instructor)
Ed
Craig (Certified RST Instructor)
Lance
Craig (Certified RST Instructor)
Lance
Craig (Certified RST Instructor)
Lance
Craig (Certified RST Instructor)
Yuefeng
Craig (Certified RST Instructor)
Yuefeng
Craig (Certified RST Instructor)
Yuefeng
Yuefeng
Craig (Certified RST Instructor)
Yuefeng
Craig (Certified RST Instructor)
Robin
Craig (Certified RST Instructor)
Robin
Craig (Certified RST Instructor)
Jerome
Craig (Certified RST Instructor)
William
Steven (Certified RST Instructor)
William
Steven (Certified RST Instructor)
Daniel
Craig (Certified RST Instructor)
Ed
Craig (Certified RST Instructor)
Colin
Colin
Craig (Certified RST Instructor)
Colin
Johan
Craig (Certified RST Instructor)
Johan
Craig (Certified RST Instructor)
Craig
Craig (Certified RST Instructor)
Craig
Johan
Craig (Certified RST Instructor)
Johan
Craig (Certified RST Instructor)
gordon
Craig (Certified RST Instructor)
Jason
Craig (Certified RST Instructor)
Philip
Craig (Certified RST Instructor)
Ralph
Craig (Certified RST Instructor)
michael
Craig (Certified RST Instructor)
Justin
Craig (Certified RST Instructor)
Justin
Craig (Certified RST Instructor)
Jason
Craig (Certified RST Instructor)
thomas
Craig (Certified RST Instructor)
James
Craig (Certified RST Instructor)
Andrew
Craig (Certified RST Instructor)
Nigel
Craig (Certified RST Instructor)
Jian
Craig (Certified RST Instructor)
Tom
Craig (Certified RST Instructor)
terry
Craig (Certified RST Instructor)