Video Menu
My Favorite Videos
My Favorite Videos
Perfect your golf impact - 3 of 4
Sorry, you need to be a member to access this video.
You Are Just Seconds Away - Become a member here!
Already a member? Log in now
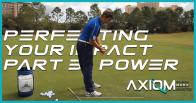
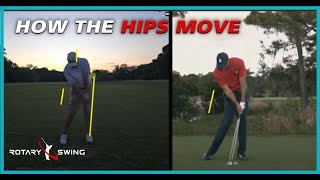
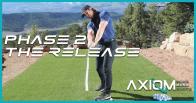
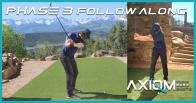
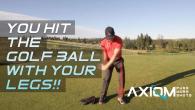
Learn how to add more speed to your golf swing by leveraging the ground like a tour pro.
- Shift your weight to trail side.
- Rotate your body 45 degrees.
- Sit/shift into your lead heel with back to the target.
- Drive the heel into the ground and release it!
Hi guys.
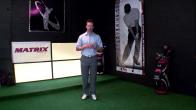
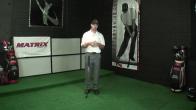
I'm RST instructor Chris Tyler and we are back with week number three of the Perfecting Your Ball Striking series.
And I hope everybody had a good first couple weeks and is starting to get some really good progress.
From right down with their lead wrist position right into weight shift.
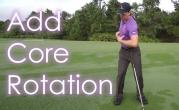
The objective of this week's video is just to add a little bit of rotation and a little bit of leverage from the ground.
We're going to start to use our legs a little bit more to help ramp that speed up.
And hopefully we will get some good progress like we've been seeing around the site.
Okay guys, So last week we worked on adding a little bit of weight shift to our release to help create a little bit more momentum.
And we allowed you guys to get away with a little bit more movement from your head position.
And the reason being is that if we focus on too many areas of the golf swing at one time.
It becomes very difficult from a proprioception.
Level wise, to be able to accomplish what the main tasks were.
And really, what we're trying to do is our focus.
Point was going to be on the lead wrist in the hitting area and making sure that we were transferring our weight.
That's a really big crux of the golf swing is that amateur golfers don't tend to like to shift their weight enough.
So now this week, our objective is to add a little bit of rotation to the mix and get some good force from the ground.
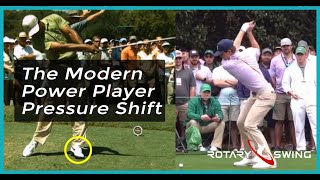
And I know a lot of you golfers have seen Bubba Watson or some of these other players like Matt.
Every where.
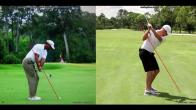
They come way up on their toes when they're swinging their drivers.
And the reason for that is is that they're using their legs to push down into the ground.
So in turn what they're doing is their body is going up and the club is going down.
That's helping extend the radius.
Now, we're not going to be doing it of that magnitude in today's drill.
We're still trying to keep things under control and we're just going to be adding a little bit of rotation to it as well.
Okay, guys.
So in step one of this new drill, that we're going to be adding a little bit of rotation and a little bit of ground force.
We're going to start without a golf club this week, so we're going to aim for probably anywhere between 50 and 100 reps done without the golf club.
So that you can make sure that these movements are perfect first.
Because now you've got to think of it this way we had very few moving parts at first.
We had just the left wrist moving in the very first video and the second video, we added a little bit of weight shift to that.
Now, we're going to have those two components mixed with.
A little bit more of a body movement here, and a little bit more of a focus point with what your lead hip is going to be doing down in the hitting area.
What this drill is going to look like for now, we'll put the club back in our hands here in just a minute.
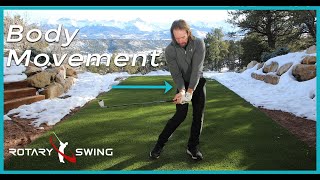
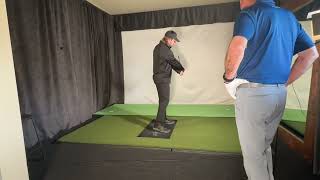
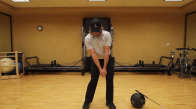
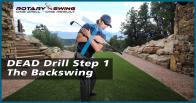
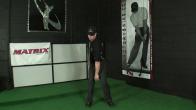
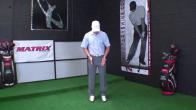
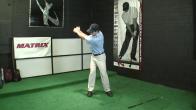
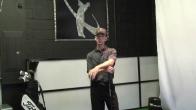
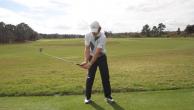
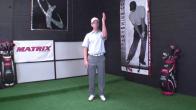
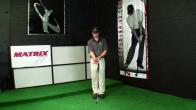
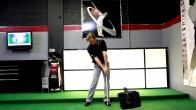
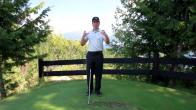
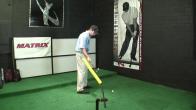
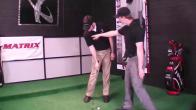
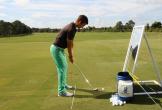
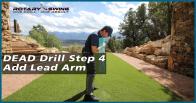
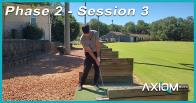
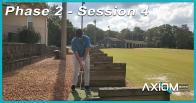
Go ahead and get into your normal setup here, normal golf posture, two inches outside of neutral joint alignment, Cross your arms over your shoulders.
And what we're going to do is we're going to make just a one inch shift of our hips to the right.
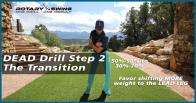
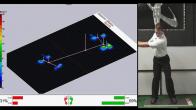
Just about a one inch shift to where you feel about, let's call it 70 to 80 percent of your weight right into that right heel.
Right into your right heel, right ankle area.
Then what I want you to do is I want you to keep your right knee flexed and facing forward.
So make that small shift and then you're going to just turn your body to about 45 degrees.
So 45 degrees of rotation here, maintaining the flex in the knees.
What I don't want you to do is I don't want this right leg to go straight because you won't feel contraction in your glute muscles.
Back here.
If you maintain that flex, what it's going to do is it's going to inhibit, It's going to restrict the amount of rotation that you have, and it's going to help you load your glute muscles up.
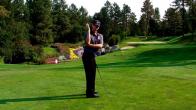
So again, from down the line, small shift and you can see that my shoulders have rotated about 45 degrees or so.
My hips have only wound up about maybe 5 to 10 degrees.
So you're going to start with that first, loading up your trail side.
And then what we're going to be doing here is we're going to do our best to make sure that when we sit back over into our lead side, we're going to try to keep our back to the target.
So you can see that my shoulders did unwind.
But what happened there was because I was focused on moving my weight into my left heel, you can see that my hips are starting to pull my shoulders.
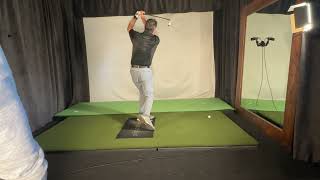
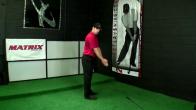
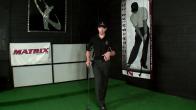
So from a face-on perspective, load up.
I'm going to shift my weight into my heel.
And now you can see that my hips and knees are back to a square position.
My shoulders are still pretty closed.
Now as I start to push the heel into the ground, okay?
You can see that my shoulders have been pulled back to square and I'm back in that impact position.
That we started to talk about at the beginning part of the week, okay?
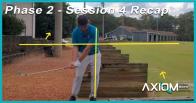
So what you're going to be looking for at this position, again, just to refresh you, is that 80% of your weight is on your lead foot, 20% or so is on your trail foot, head's behind the golf ball.
So that's going to have enough tilt to where your spine's just outside your lead knee.
Hips are open about 30 to 40 degrees at this point now because we're using ground force.
And the more you push into the ground, the more your hips are going to start to unwind.
So 30 to 40 degrees and shoulder line should be nice and square.
So let me demonstrate that for you again.
Small shift right, right knee flexed.
Try to hold your back to the target or your shoulder's wound.
Shift left or sit into that left side.
Clear the hips, arms down in front of you.
Do that 50 to 100 reps and then we're going to slowly add the club back to the mix.
So let's look at part two now.
Okay, gang, so here we are with part two.
And our objective for these next 900 reps, because we just did 50 to 100 reps of our body movements alone, is to still focus on making sure that the other two parts are still in line.
Okay, we're just going to do a little bit of cleaning up of the overall head movement.
And we're going to get us into a really good sound impact position.
And we're just going to add a couple of other moving pieces here.
Now, The one big thing I want you to understand is that.
If you feel like you're starting to see some breakdown in your lead wrist, or you feel like you're having a hard time with weight shift, don't be afraid to pump the brakes here.
Pull yourself back.
Do several reps of those other drills and then slowly add in these other pieces.
Sometimes it feels like we're kind of rubbing our belly and patting our head at the same time.
And I don't want to add too many pieces in here that are going to confuse you.
So once, that was the whole point of not using the club at first for this part of the drill because again, we're now adding rotation and we're adding a big move from the legs at the bottom half of the swing.
So now let's get into the drill here.
Okay, we've just spent our time working on our body movements.
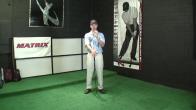
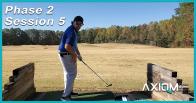
Okay, we're going to focus on making that small shift to the right.
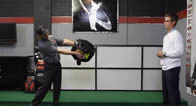
Okay, keep your right knee flexed and you're going to turn your body to about 45 degrees.
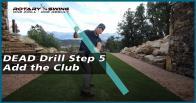
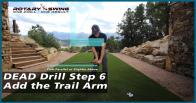
So a couple of little checkpoints I want you to focus on here is, number one, both arms should be fairly straight and relaxed.
Don't get your right arm really bent, but also notice that I have a little bit of wrist set here.
I don't have the club perfectly parallel to the ground, I've got a little bit more set.
For those of you that want to add a little bit more elevation and get your hands up at about chest height, that's perfectly fine.
But what I want you to focus on now from this point, is.
We're going to sit and we're going to try to keep our arms and shoulders where they are, into our left heel.
Okay, so now you can see my head move back to its original position.
My hips and knees have come back to a square position.
Remember, my hips were wound up at about five, ten degrees or so, and then they come back to a square position.
So that movement alone is starting to pull the shoulders and the arms.
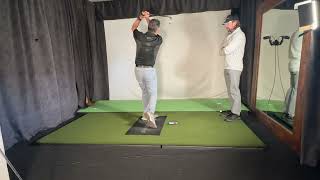
So here I am at that wide spot.
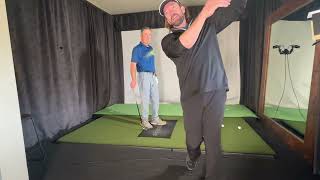
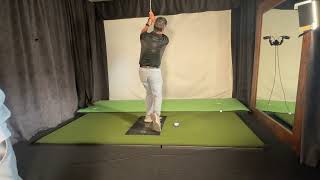
Okay, I'm going to sit left, keep my head quiet now, push the heel into the ground and then I'm going to release.
And when I tell you to push the heel into the ground, I really want you to be able to feel like you're driving that heel into the ground as hard as you can.
I don't want you snapping your knees straight.
I want you just to feel like you're pushing it into the ground.
Now, if you notice here from a down the line perspective, if I just push my heel into the ground and I've got enough weight over there, you're going to see the hips start to rotate.
If you have enough awareness of your midsection or you can feel your obliques, then you can use your lead side obliques to help move or rotate the hip back towards center.
Okay, so that would be towards your spine.
You want to feel like you're pulling the hip away from the target.
But you also want to make sure that you've got enough weight into that side because otherwise you run the risk of getting way back here.
You can over rotate the hips and then we have a mess of issues on our hands.
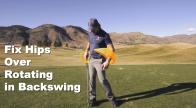
A lot of you know what it's like to be hip spinners.
So again, drill is going to look like small baby shift right, rotate our body, sit in the left heel, keep the head quiet, and go ahead and release.
This is going to help add a lot of speed to it.
So I'm going to go ahead and get into what it looks like once you've done enough reps to where you don't feel like you have to pause.
And try to tie it all together now.
So let's look at that again.
Small shift.
And there you go.
So you can see that I'm starting to add a lot more speed to it.
You can hear the sound of it.
This is a good drill now to start to get a little bit more of a moving, some more moving parts to it.
So now when we get into the final step of this, you can really have a ton of speed in it.
And you'll still have all that control that we worked to get in the first place.
All right, guys.
So let's get out there.
Let's put it to use.
1,000 reps is our goal this week.
Let us know if you have any questions at all.
We'll help you along the way.
Let's make it a great day.



































































Stephan
Craig (Certified RST Instructor)
Stephan
Craig (Certified RST Instructor)
Michael
Craig (Certified RST Instructor)
Mikko-Pekka
Craig (Certified RST Instructor)
John
Craig (Certified RST Instructor)
Daniel
Craig (Certified RST Instructor)
Steve
Craig (Certified RST Instructor)
Steve
M. (Certified RST Instructor)
Craig (Certified RST Instructor)
Allen
R.J. (Certified RST Instructor)
Tram
Craig (Certified RST Instructor)
Tram
Craig (Certified RST Instructor)
Luis
Dean
John
Chris (Certified RST Instructor)
Stan
Craig (Certified RST Instructor)
stephen
Craig (Certified RST Instructor)
stephen
Craig (Certified RST Instructor)
Kevin
Craig (Certified RST Instructor)
Stephen
Craig (Certified RST Instructor)
Stephen
Craig (Certified RST Instructor)
Stephen
Stephen
Craig (Certified RST Instructor)
Stephen
Stephen
Stephen
GC
Craig (Certified RST Instructor)
GC
Craig (Certified RST Instructor)
GC
Craig (Certified RST Instructor)
GC
Craig (Certified RST Instructor)
GC
Chris (Certified RST Instructor)
michael
Craig (Certified RST Instructor)
michael
Craig (Certified RST Instructor)
Paul
Craig (Certified RST Instructor)
Paul
Chris (Certified RST Instructor)
Paul
Chris (Certified RST Instructor)
Paul
Chris (Certified RST Instructor)
Paul
Craig (Certified RST Instructor)
Paul
Craig (Certified RST Instructor)
Paul
Paul
Craig (Certified RST Instructor)
Paul
Craig (Certified RST Instructor)
Paul
Craig (Certified RST Instructor)
Paul
Craig (Certified RST Instructor)
Paul
Craig (Certified RST Instructor)
Paul
Craig (Certified RST Instructor)
Paul
Gary
Craig (Certified RST Instructor)
Dave
Craig (Certified RST Instructor)
Robert
Craig (Certified RST Instructor)
Robert
Craig (Certified RST Instructor)
Stephen
Craig (Certified RST Instructor)
Tom
Craig (Certified RST Instructor)
Greg
Craig (Certified RST Instructor)
James
Craig (Certified RST Instructor)
Robert
Craig (Certified RST Instructor)
James
Craig (Certified RST Instructor)
Anthony
Craig (Certified RST Instructor)
Anthony
Craig (Certified RST Instructor)
Corey
Steven (Certified RST Instructor)
Stephen
Craig (Certified RST Instructor)
Jay
Craig (Certified RST Instructor)
Marc
Craig (Certified RST Instructor)
Marc
Craig (Certified RST Instructor)
Marc
Craig (Certified RST Instructor)
Marc
Craig (Certified RST Instructor)
joseph
Chris (Certified RST Instructor)
joseph
BRIAN
Chris (Certified RST Instructor)
Soren
Chris (Certified RST Instructor)
joseph
Chris (Certified RST Instructor)
Warren
Craig (Certified RST Instructor)
John
Chris (Certified RST Instructor)
Douglas
Chris (Certified RST Instructor)
Douglas
Chris (Certified RST Instructor)
Douglas
Chris (Certified RST Instructor)
hubert
Chris (Certified RST Instructor)
Steven
Chris (Certified RST Instructor)
Steven
Steve
Chris (Certified RST Instructor)
Steve
Chris (Certified RST Instructor)
Byron
Chris (Certified RST Instructor)
Thomas
Chris (Certified RST Instructor)
Chris (Certified RST Instructor)
David
Chris (Certified RST Instructor)