Video Menu
My Favorite Videos
My Favorite Videos
Perfecting your golf impact - Bonus
Sorry, you need to be a member to access this video.
You Are Just Seconds Away - Become a member here!
Already a member? Log in now

Perfecting your golf impact video series. Special bonus video that will help you correct some of the common mistakes made when working on your golf swing.
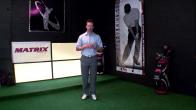
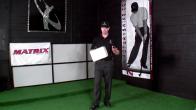
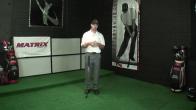
Hey guys, I'm rotary swing instructor Chris Tyler, and welcome back to the Perfecting Your Impact Series bonus video.
We're going to be discussing some of the common faults that we saw pop up on the website, And go over some of the questions that we saw as far as how to add more moving parts to this so that we can really ramp our speed up.
If you've been battling with maybe some early extension of your spine, or having a problem with a little bit of your weight shift, or even wanted to have a good clear solution on how do we get it further into the backswing, and you want to pay close attention to today's video, let's go ahead and get started.
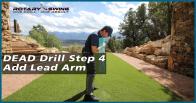
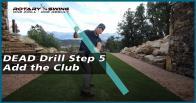
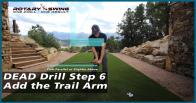
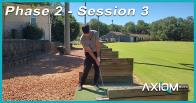
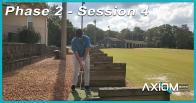
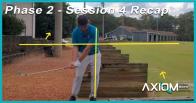
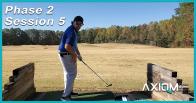
Okay gang, so in part one of this video, we're going to be talking about how to add more moving parts to it, and when we looked at video number four, we were really just trying to accomplish getting the lead arm to about parallel to the ground.
In order for you to be able to add more to this, if you feel like you've mastered video number four, and you're checking your positions on camera, you're really striking the golf ball well, then all I want you to do is just add a little bit more body rotation to it, add a little bit more elevation of your arms, and a little bit more flexion.
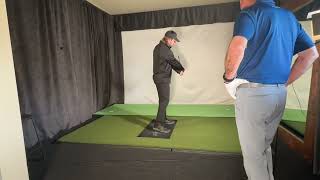
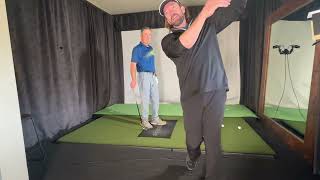
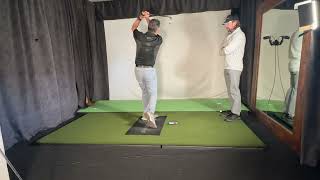
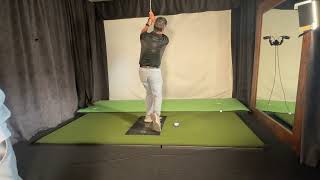
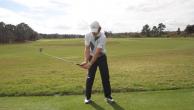
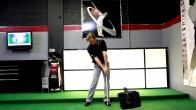
So, standing from a down the line perspective here, if we were to swing back and our lead arm was just parallel to the ground, maybe challenge yourself to add a little bit more rotation, maybe 10 degrees more rotation, and get your hands to go about shoulder height.
Spend a few days on that, then slowly start to ramp it up even more, add a little bit more rotation of the body, add a little bit more elevation, and a little bit more flexion, and you're going to see that now we're really starting to pump up that speed, and just don't allow yourself to have all those critical areas that we worked on first break down, because we always want control before speed.
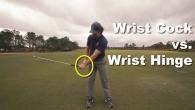
Okay guys, so the next question that I want to address is, We're going to talk a little bit about the wrists and how they're functioning throughout the golf swing, and if you haven't seen the video called, Using Your Wrists Effectively and Efficiently, go ahead and click over in the Recommended Videos tab, it's a great video that's going to talk about what the anatomical terms are of the wrist movements, and it's going to talk to you about how we use them for speed in the golf swing, and one of the big areas that we had a little bit of concern on was, what did the 30-60-90 really mean?
Well, all I was trying to say with that drill, from a hypothetical standpoint, is that if my wrist is at a fully neutral position here, okay, and then I were to go ahead and just cock my wrist, okay, that'd be radial deviation here, a little bit of cocking in the wrist, you can see that I've moved this club quite a bit.
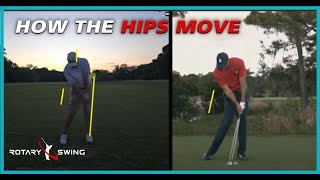
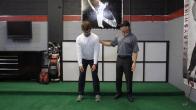
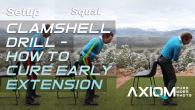
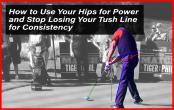
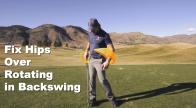
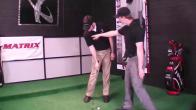
The 30%, I was just talking about the range of motion in the wrist, so again, they're very hypothetical numbers, and the reason why I use those numbers is because a lot of times, amateur golfers tend to struggle with getting the club set really early, so they go full range of motion with the wrist, and what happens there is you're starting to stretch those muscles out, and then they're going to want to fire really quickly, and that in turn is going to cause you to lose lag, so we always want to allow things to evolve in the golf swing, okay, so that's the reason why we start out with 30% of it, and we're going to move into 60, and then we're going to allow the angle to increase, and you can even use that as you start to add more body rotation, more elevation, and more flexion, so you can still use those as kind of background checkpoints for you, and you'll see that you still have that speed and lots of control, okay, so now let's look at some of the common faults that we ran into during this video series, And the first one we're going to discuss right now is going to be talking about the early extension of the spine, and what I mean there is from a down the line perspective, if my hips come forward, okay, you can see that my spine starts to work more vertical, and the point of that is that this is going to be more geared towards video two and three, if you're shifting your weight properly, and you're focused on where your weight is in your feet, then you shouldn't see the hips starting to come forward, but if you're still battling with it, and I know exactly how frustrating this part can be to fix, well, a good way to try to overcome this is get a lawn chair, okay, or a chair of any sorts that's tall enough to where you can stick your tush right up against it, okay, so stick your tush right up against that chair, and you're going to do the same drills, and when, as you're starting to release the golf club, okay, you want to try to keep your right tush lightly touching the chair all the way back, do several reps of that, also, if you don't have access to a chair, which you can try and feel is that your chest, as long as you're remaining in that true balance that we talked about, right underneath those ankle joints, try to feel as though your chest is staying down at the ground, your sternum is pointing right down at the ground the entire time, don't allow it to come up and point out in front of you, okay, so if you've been battling with some early extension of the spine, get a chair, stick your tush up against it, take it out to the range if you have a chance to hit balls, and as you're releasing the golf club through again, you want to try to feel like your right tush is back touching the chair just lightly, okay, drill that for several hundred reps, and you'll start to get the feel of, okay, now I understand how to keep my hips back, now I can feel the weight staying in true balance the entire time, I don't have a lot of that real hard trail side push here, that's causing me all my issues in the first place, and this will help your ball striking out, help you overcome that fault.
Okay, So let's discuss the next fault that we see in the video series.
That was becoming a little bit more of a question than it was necessarily a fault, and it was how do we shift our weight back over to our lead side?
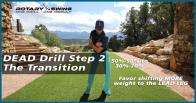
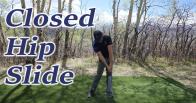
Well, what we ran into quite a bit was people doing what we call a closed hip slide, so if we were working to that 45 degree position, where I had my hips wound up, you know, 10 to 15 degrees or so, we would see the weight shift and our hips would stay closed, okay, that's what we call a closed hip slide.
For this drill, what you want to focus on, like we talked about with the back staying towards the target, is you want to feel like your lead leg, okay, so if we have some rotation, is going to feel like it's externally rotating here, it's actually called internal femur rotation, so if you get your hips wound up to about 20 to 25 degrees here, as I am, and you just externally rotate that to where your knee is now in neutral, you can see that my hips have unwound, okay, so again, this is going to be internal femur rotation, and you can use that trying to feel like you're shifting your weight into that left heel, okay, so internal rotation, don't just keep your hips closed and slide over.
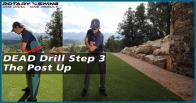
Knees back into neutral, and at that point, you should have a good bulk of your weight into your lead side, and now you're ready to post up and let it go.
Okay, so let's talk a little bit about tempo, I know that was one of the big questions that we had throughout the video process, is what sort of tempo do I want to be able to achieve, and how do I keep myself from working too quickly?
And it's a great question, And everybody's going to be a little bit different based off of how comfortable they get with all the moving parts, But one of the things that I like to think of when I'm starting to work through these drills is I like to keep things as evenly balanced from one side of the golf ball to the other.
I don't really want to have any sort of excessive speed one way or the other at this point, Because that's going to kind of take a lot of the focus away from where we're trying to go with this particular series of drills, we're really trying to get good solid impact on the golf ball, and then as we start to become more and more comfortable, we're going to ramp that speed up.
So, a good way to develop some good tempo in this, if you haven't seen the tempo video that we have on the website, click on the recommended videos tab, that'll be over there for you.
But I just keep my lead arm on the club, and I just go back maybe about chest height to chest height, and I just try to keep it as evenly paced as possible.
We even heard some tips in the past, go back on Ernie, and then say L's on the way down.
So, you create Ernie, and then L's on the way down, so you'd see that the club would start to get some speed to it.
That's a good kind of focus point, it sounds a little bit on the crazy side, but it tends to work for a lot of people that have too quick a tempo, and they don't allow things to evolve in their golf swing, and use their body properly, and then ultimately, that screws up the kinetic chain, and you start to cost yourself speed.
Okay, everyone, so that concludes our four-part video series on perfecting your impact, Along with this bonus video that was really designed just to kind of go over some of the questions and some of the faults that you may have been struggling with at home.
And I just want to say thank you to all the people for the great comments during this process, and I want to thank the people that put in all that hard work and got some really, really awesome progress.
That's what makes my job one of the best jobs in the world, is just being able to help people play the game that I love so much.
So let's get out there, let's put this video series to work, and let's play some great golf.






















































































































Ali
Craig (Certified RST Instructor)
Rayan
Craig (Certified RST Instructor)
Rayan
charles
Craig (Certified RST Instructor)
charles
Craig (Certified RST Instructor)
arthur john
Craig (Certified RST Instructor)
stephen
Chris (Certified RST Instructor)
stephen
Chris (Certified RST Instructor)
stephen
Chris (Certified RST Instructor)
Mark
Craig (Certified RST Instructor)
Wyatt
Craig (Certified RST Instructor)
Craig (Certified RST Instructor)
Wyatt
Craig (Certified RST Instructor)
Izzy
Craig (Certified RST Instructor)
sambhu
Craig (Certified RST Instructor)
T David
Craig (Certified RST Instructor)
David
Craig (Certified RST Instructor)
Jay
Craig (Certified RST Instructor)
Johan
Craig (Certified RST Instructor)
Evan
Craig (Certified RST Instructor)
joseph
Craig (Certified RST Instructor)
Anthony
Craig (Certified RST Instructor)
phil
Chris (Certified RST Instructor)
David
Steven (Certified RST Instructor)
joseph
Cody
Chris (Certified RST Instructor)
Cody
Chris (Certified RST Instructor)
Cavan
Chris (Certified RST Instructor)
Cavan
Donald
Chris (Certified RST Instructor)
Rick
Chris (Certified RST Instructor)
Frank J
Craig (Certified RST Instructor)
Ray
Craig (Certified RST Instructor)
Dave
Craig (Certified RST Instructor)
Robert
Craig (Certified RST Instructor)
rick
Craig (Certified RST Instructor)
rick
Nacho
Craig (Certified RST Instructor)
Nacho
Matt
Craig (Certified RST Instructor)
Stephen
Craig (Certified RST Instructor)
Robert
Craig (Certified RST Instructor)
Robert
Craig (Certified RST Instructor)
Arnie
Raymond
Chris (Certified RST Instructor)
Alan
Chris (Certified RST Instructor)
Jason
Chris (Certified RST Instructor)
Jason
Chris (Certified RST Instructor)
Jason
Ken
Chris (Certified RST Instructor)
Tom
Chris (Certified RST Instructor)
Anthony
Chris (Certified RST Instructor)
Anthony
Chris (Certified RST Instructor)
Dr.
Dr.
Craig (Certified RST Instructor)